Mount MinIO on Linux — Self-Hosted S3 Storage on Ubuntu with NetDrive

Mount a self-hosted MinIO bucket as a Linux mount point with NetDrive's experimental Ubuntu build — endpoint setup, path-style access, and verification steps.
A build team runs its own MinIO cluster on a rack of Ubuntu servers instead of paying for managed object storage — Docker layer caches, nightly test fixtures, and a few terabytes of artifacts that never need to leave the office network. The CI runners already read and write local paths with plain shell commands, and rewriting that around MinIO’s SDK just to reach a bucket that’s sitting three racks away feels like solving a problem that doesn’t need solving. NetDrive’s Linux build mounts the bucket as an ordinary path instead, so the existing scripts keep working unchanged.
Mount MinIO on Ubuntu
NetDrive lets Google Drive, OneDrive, S3, SFTP, WebDAV and more appear as native drives on Windows and macOS — no syncing, no full downloads.
- S3-compatible connection — works with any self-hosted MinIO endpoint
- Runs on Ubuntu 16.04 and later
- Existing shell scripts read and write through a normal mount point
Free trial. Lifetime and subscription plans available.
Why a Mount Point Beats Scripting Against the MinIO API
Talking to MinIO directly means pulling in the mc client or an S3 SDK, handling access key rotation, and writing retry logic for whatever language a given job happens to be in. None of that is hard, but it’s infrastructure work bolted onto a task that’s really just “read this file, write that file.” Mounting the bucket removes the layer entirely — tar, cp, rsync, and anything else that already knows how to touch a local path can touch the mount point the same way.
NetDrive has treated MinIO as a well-supported S3-compatible connection since version 3.15.450 (2021-11-08), the same release that added general S3-compatible support alongside Amazon S3 itself. On Linux specifically, that connection type rides on NetDrive’s experimental Ubuntu build rather than the more heavily tested Windows and macOS releases — worth knowing going in, since Linux carries an “experimental” label on NetDrive’s own comparison page.
What You Need Before You Start
- MinIO endpoint URL — something like
http://minio.internal:9000for a machine on the local network, or an HTTPS URL if the cluster sits behind a reverse proxy. MinIO’s API listens on port 9000 by default; the web console runs on a separate port and isn’t what NetDrive talks to. - Access Key and Secret Key — a service account scoped to the bucket NetDrive needs, created from the MinIO Console under Identity → Service Accounts, or via
mc admin user svcacct add. Skip the root credentials for anything long-running. - Bucket name — NetDrive connects at the bucket level, so a server that needs several buckets gets a separate NetDrive connection for each one.
- Ubuntu 16.04 or later, with outbound access to the MinIO endpoint’s port open on the box’s firewall.
Installing NetDrive on Ubuntu
NetDrive for Linux doesn’t live in Ubuntu’s default repositories, so setup goes through GitHub instead of apt:
- Go to github.com/NetDrive/installer and download the release matching your Ubuntu version.
- Check that release’s notes before installing — a driver component needs to load first, or connections won’t mount.
- Install the package, then launch NetDrive once so the driver loads. Depending on how the box is set up, this step may prompt for
sudo.
Step-by-Step: Connect a MinIO Bucket
- Open NetDrive’s Drive Manager and click + Add Drive.
- Select Amazon S3 from the provider list — MinIO speaks the S3 API, so this is the entry point NetDrive uses for MinIO along with other S3-compatible stores.
- Enter the Access Key ID and Secret Access Key from the service account created earlier.
- Set Region to any non-empty value like
us-east-1— MinIO ignores it, but the field can’t be blank. - Enter the Endpoint — the MinIO API URL, for example
http://minio.internal:9000. - Enter the Bucket name to mount.
- Enable Path style (sometimes labeled Force path style). Self-hosted MinIO usually has no DNS entry for virtual-hosted-style bucket URLs, so path-style addressing — where the bucket shows up as a path segment — is the setting that works out of the box.
- Set a mount point, such as
/mnt/minio-artifacts, and click Connect.
Verifying the Mount Before a CI Job Depends On It
Confirm the mount actually took before pointing an unattended job at it:
# Confirm the mount is listed
mount | grep minio-artifacts

# Or just list it
ls /mnt/minio-artifacts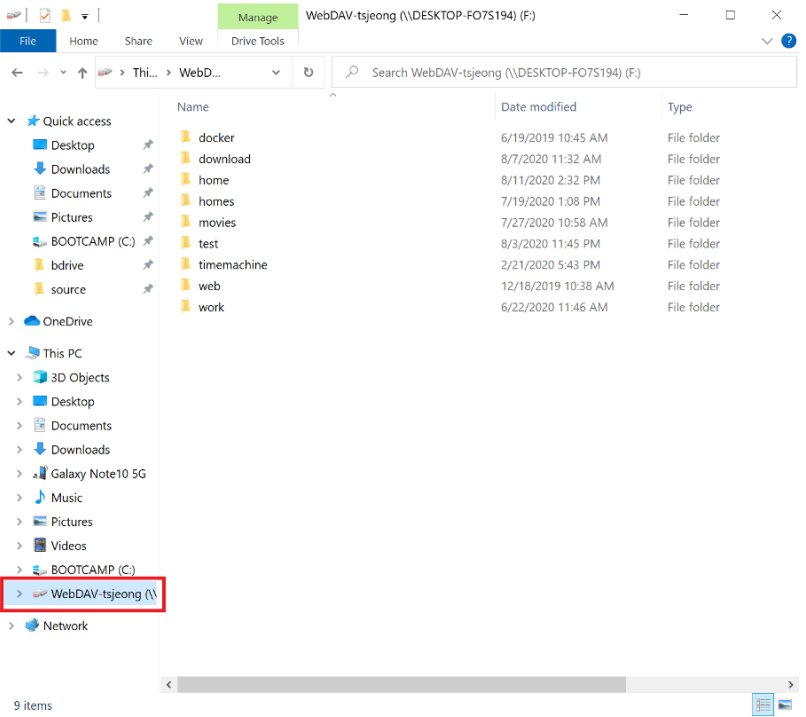
If the directory shows up empty or the mount never appears, check that the box’s firewall allows outbound traffic to the MinIO endpoint’s port before assuming the access key is wrong — a blocked port is a more common cause on locked-down build servers than bad credentials.
What to Plan Around on the Linux Build
- A separate release cadence. Fixes that ship for Windows or macOS don’t automatically land on the Linux build the same week.
- No
aptintegration. Updates come from GitHub releases, not a package manager, so tracking new versions is a manual step. - Windows and macOS get the deeper testing. A CI runner or a nightly job reading from MinIO is a reasonable fit for the Linux build; test thoroughly before putting an unattended production pipeline behind it.
Wrap-up
Mounting a self-hosted MinIO bucket on Ubuntu gives a build server the same drive-style access NetDrive provides on Windows and macOS, without a rewrite around the S3 SDK. For the same provider on more heavily tested platforms, see Mount MinIO on Windows or Mount MinIO on macOS; for the wider Linux picture, see NetDrive on Ubuntu Linux; and for a CI-focused use case built around S3-compatible storage, see DevOps: S3 Test Fixtures with NetDrive.
— Kai, NetDrive