Mount SFTP Server on macOS — NetDrive

Mount any remote SFTP/SSH server as a native Finder drive on macOS Sonoma using NetDrive. Step-by-step guide with password and key-based auth.
A media post-production studio keeping 3 TB of raw footage on a Linux render server accessed it via Cyberduck for years — one file at a time. After switching to NetDrive, the same footage shows up as a drive in Finder and opens directly in Premiere Pro without downloading the whole clip first. If you access a remote server over SSH and want that same workflow on macOS, this guide walks you through it.
Mount your SFTP server as a macOS Finder drive
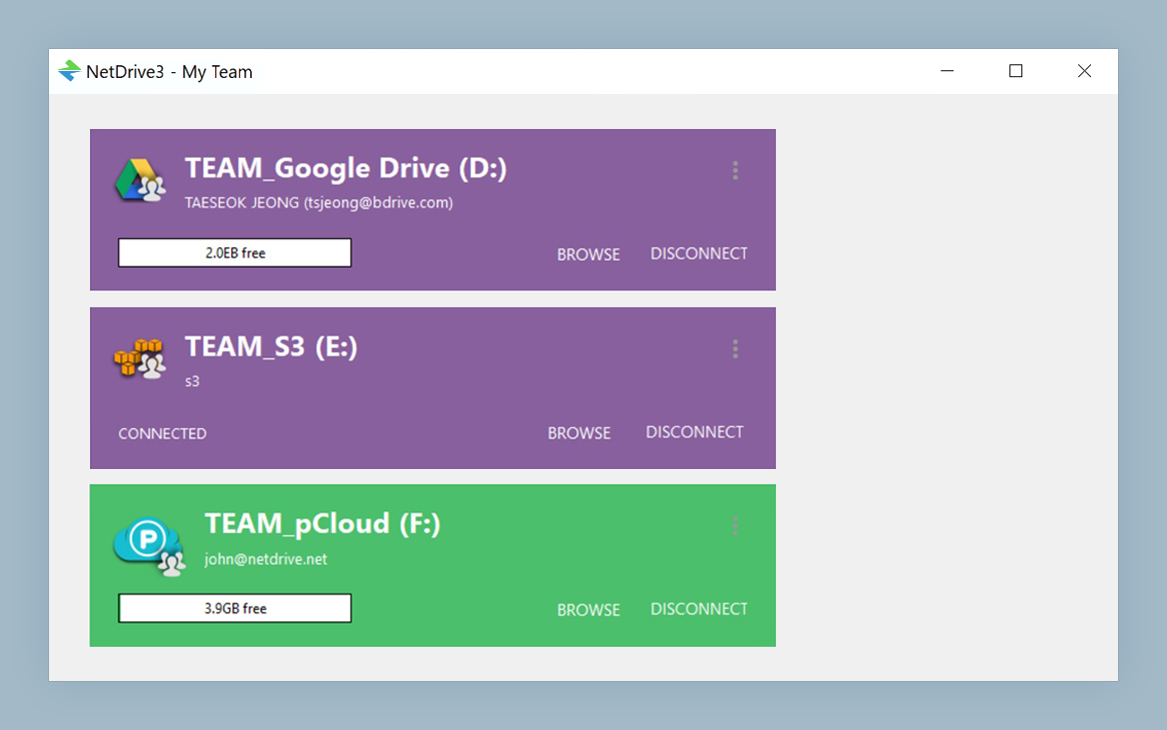
NetDrive lets Google Drive, OneDrive, S3, SFTP, WebDAV and more appear as native drives on Windows and macOS — no syncing, no full downloads.
- Drag-and-drop files directly from Finder to your remote server
- Password and SSH key authentication both supported
- Works on macOS 14 Sonoma and later
Free trial. Lifetime and subscription plans available.
Before You Start
NetDrive on macOS requires:
- macOS 14 Sonoma or later — NetDrive 3.18 raised the minimum OS requirement. Users still on macOS 13 Ventura should use NetDrive 3.17 instead.
- macFUSE — the kernel extension that lets NetDrive present remote filesystems in Finder. The NetDrive installer page links to the official build at osxfuse.github.io. Without it, your SFTP drive will fail to mount without a clear error.
- SFTP access credentials: hostname (or IP), port (typically 22), username, and either a password or an SSH private key.
To confirm macFUSE is active, open System Settings → Privacy & Security → Extensions → File System Extensions and look for “macFUSE” with a green status. If it is listed but disabled, click the toggle and restart.
Adding an SFTP Connection in NetDrive
- Open NetDrive from the menu bar icon (the cloud icon in the top-right corner of your screen) or from the Applications folder.
- Click + Add Drive in the Drive Manager.
- Select SFTP from the storage type list.
- Fill in the connection form:
- Display Name — a label for Finder, e.g., “Render Server” or “Studio NAS”
- Host — your server’s IP address or hostname, e.g.,
192.168.1.100orfiles.studio.internal - Port — default is
22; ask your sysadmin if they use a non-standard port - User Name — your SSH login name
- Authentication — select Password or Key depending on your server’s configuration
- If using Key authentication:
- Click Browse next to the key field and select your private key file (
~/.ssh/id_rsaor~/.ssh/id_ed25519are the most common locations) - Enter the key passphrase if one is set — NetDrive stores it securely in the macOS Keychain
- Click Browse next to the key field and select your private key file (
- Click Connect to test. A green checkmark confirms the credentials work.
If the connection times out at step 6, verify the host is reachable (ping <host> in Terminal) and that port 22 is not blocked by a firewall (nc -zv <host> 22). Also confirm that sshd_config on the server has Subsystem sftp /usr/lib/openssh/sftp-server (or equivalent) enabled.
Mounting the Drive and Working with Files
Once the connection is saved, mounting is a one-click operation:
- Click Mount next to the SFTP entry in the Drive Manager. Alternatively, enable Auto-mount on Login to have the drive appear automatically every time you log into your Mac.
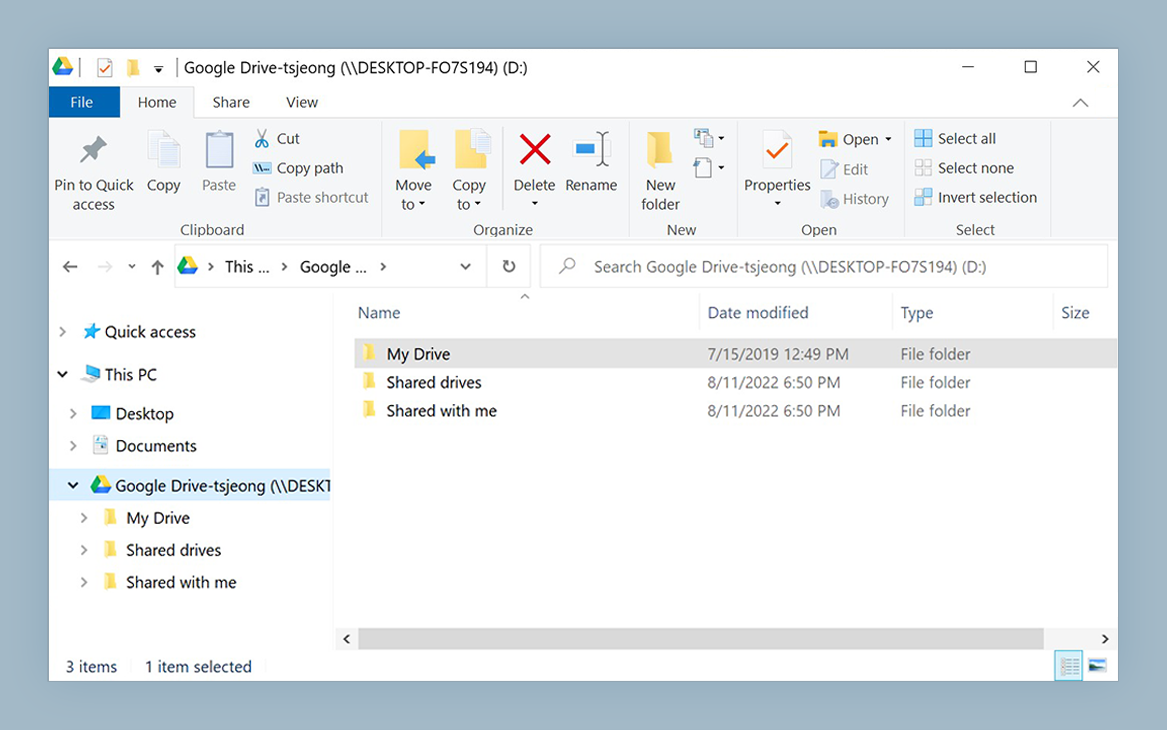
- The drive appears in the Finder sidebar under Locations with the display name you chose.
- Open, edit, and save files directly from Finder or any application — NetDrive streams data from the remote server on demand without downloading entire files first.
Symlinks on the remote server are preserved and resolve correctly in Finder as of NetDrive 3.17.817. If your Linux server uses symlinked directory structures (common on NAS devices with multi-volume storage), you will see the correct linked paths rather than broken aliases.
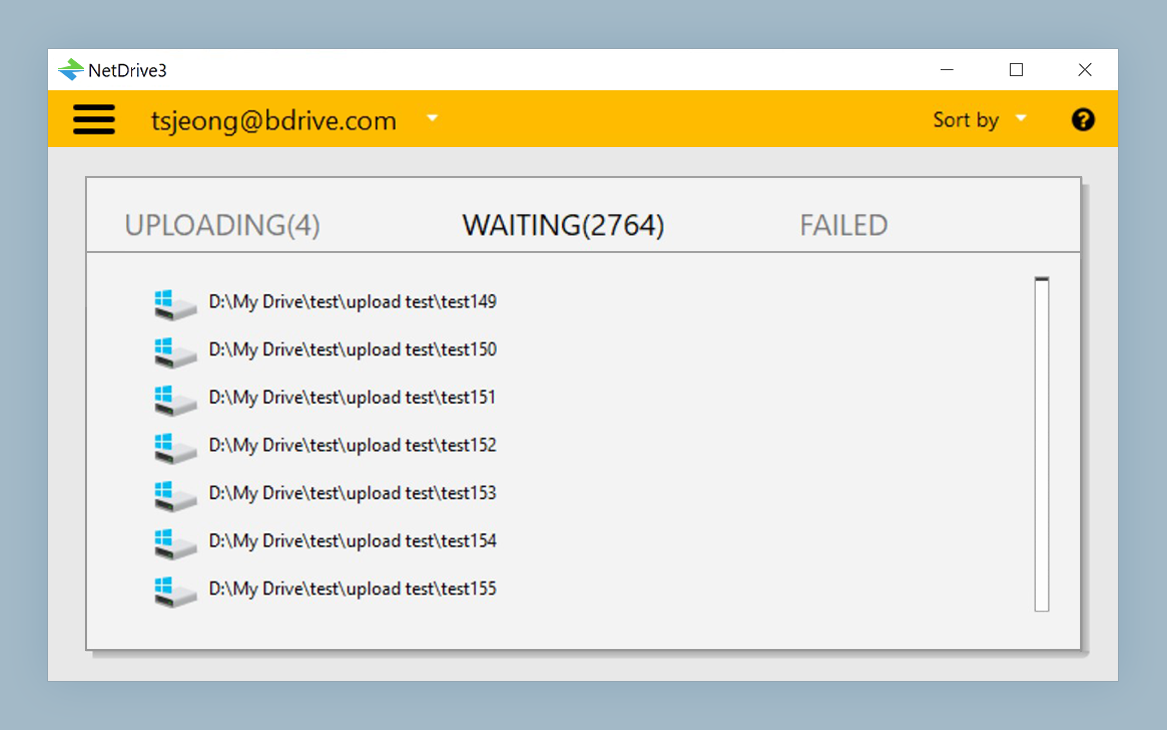
For large transfers — exporting video renders, uploading project archives — NetDrive queues them through its background upload system. The upload continues even if you close the Finder window, and progress appears as an indicator in the NetDrive menu bar icon.
Mounting at Boot Without a User Login
If the Mac runs as a shared workstation or unattended relay where no one stays logged in, you can configure SFTP to mount at boot time before any user logs in:
- Open the SFTP drive entry in the Drive Manager.
- Under Mount Options, set Auto-mount to Boot (not Login or Disabled).
- Make sure credentials are saved — NetDrive needs them to authenticate without a user interaction prompt.
This is the right setting for a Mac mini acting as a local gateway between remote SFTP storage and an on-site team, or for any workflow where the drive needs to be available for automated scripts that run at startup.

Wrap-up
SFTP has been a supported protocol in NetDrive since the 3.x launch, and symlink support arrived in 3.17.817 — meaning Sonoma users on the current release get the complete feature set. Setup takes under five minutes once macFUSE is in place. If you also access object storage from the same Mac, see Mount Amazon S3 on macOS with NetDrive or Mount Backblaze B2 on macOS for the same Finder-native workflow with cloud providers.
— Kai, NetDrive