Mount OpenStack Swift on macOS — NetDrive Drive Setup

Mount an OpenStack Swift object store as a native macOS volume with NetDrive 3.18+. Step-by-step setup for Keystone v2/v3 authentication and Finder integration.
A data science team running 60 TB of model-training data on an on-premises OpenStack cluster needs the same thing on macOS that they already have on Linux: a filesystem path that points directly at Swift, so Python scripts can reference /Volumes/swift-data/ without any extra abstraction layer. NetDrive has supported OpenStack Swift since version 3.1, and on macOS 14 Sonoma or later, the whole setup takes under five minutes.
Mount OpenStack Swift directly in macOS Finder
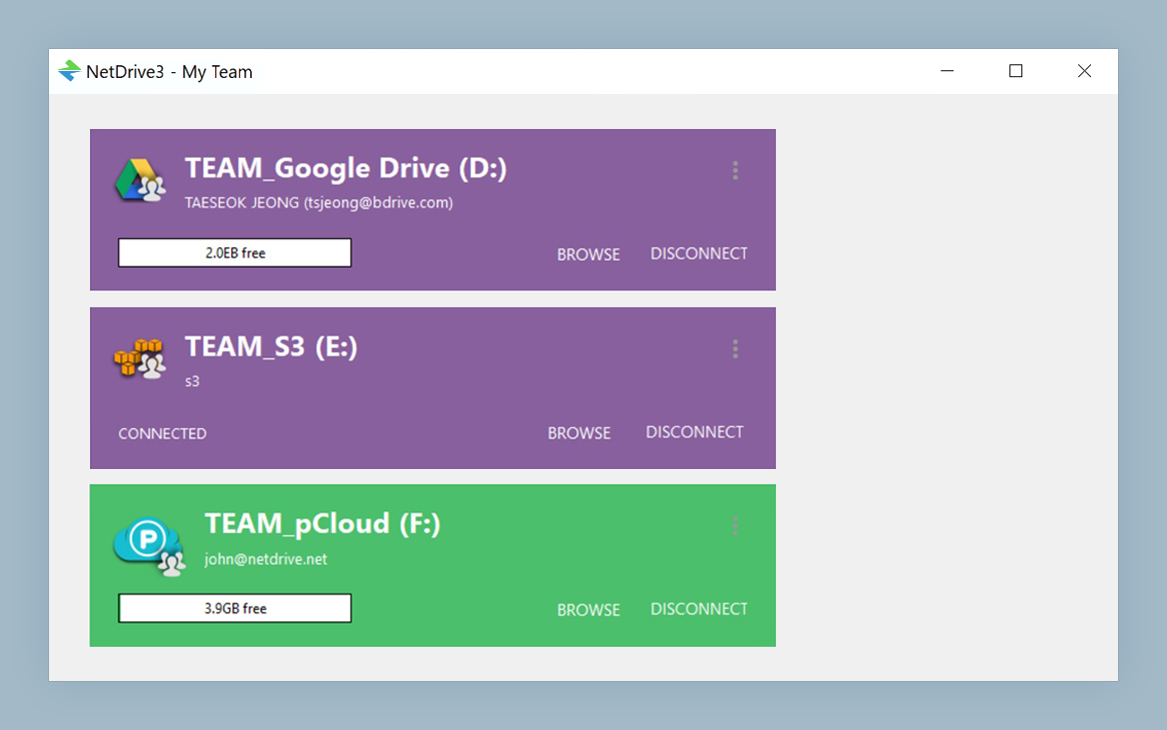
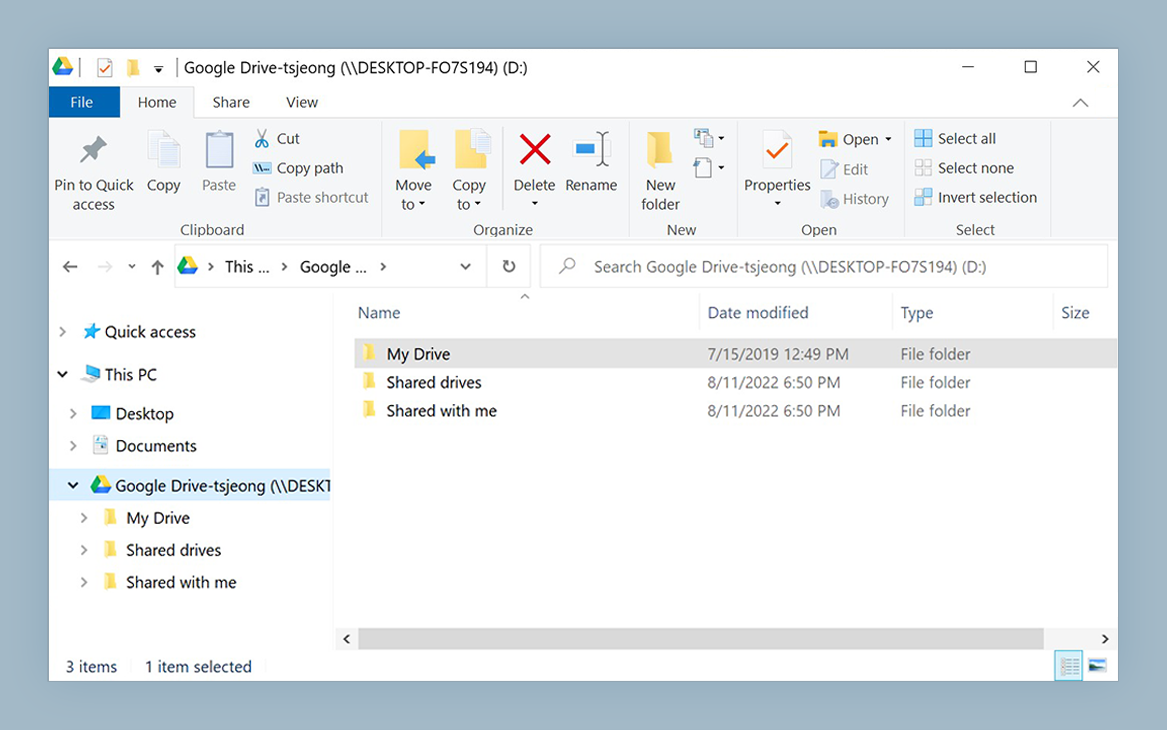
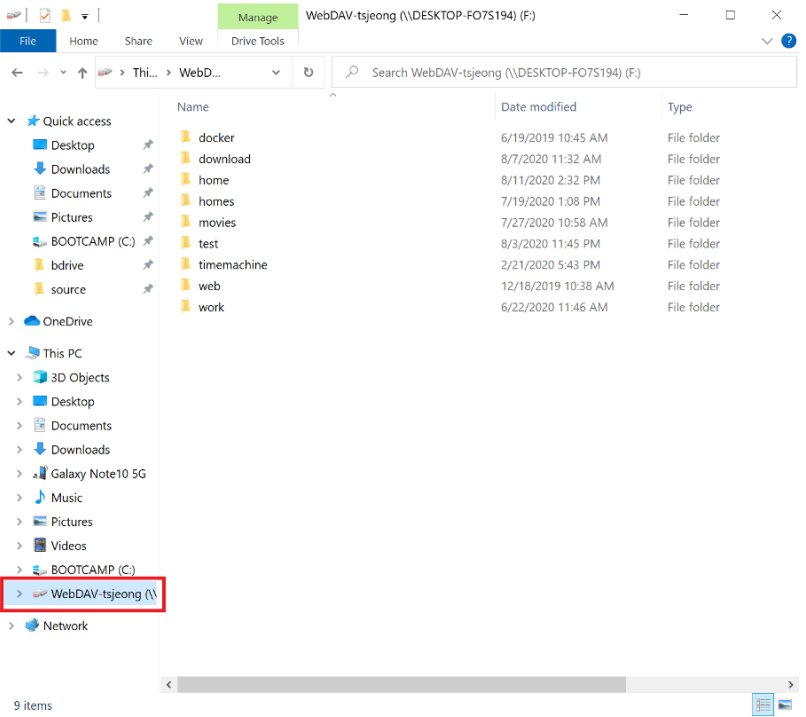
NetDrive lets Google Drive, OneDrive, S3, SFTP, WebDAV and more appear as native drives on Windows and macOS — no syncing, no full downloads.
- Access Swift containers as a native /Volumes/ entry in Finder
- Works with Keystone v2 and v3 authentication
- Native Apple Silicon support — macOS 14 Sonoma and later
Free trial. Lifetime and subscription plans available.
Credentials You’ll Need
Before opening NetDrive, collect the following from your OpenStack administrator or the Horizon dashboard:
- Auth URL — the Keystone identity endpoint, for example
https://keystone.example.org:5000/v3. Include the version path (/v2.0or/v3) exactly as your admin provides it; NetDrive uses it verbatim. - Username and Password — your OpenStack user credentials. Some deployments issue application credentials instead of a user password; either form works in NetDrive’s credential fields.
- Project / Tenant Name — the OpenStack project (Keystone v3) or tenant (Keystone v2) that owns the target container. This field is required even when you’re the sole user on the cluster.
- Region — the region name if your cluster is multi-region (for example,
RegionOne). Leave blank for single-region deployments. - Container Name — the specific Swift container to mount as the drive root. Leave this empty to mount at the account level, which shows all containers as top-level folders in Finder; enter a name to target one container directly.
HTTPS is used by default and is strongly recommended — Swift auth tokens should never travel over plain HTTP.
macOS version note: OpenStack Swift support has been in NetDrive since version 3.1. On macOS 14 Sonoma or later, you need NetDrive 3.18 or higher. If you are still on macOS 13 Ventura, NetDrive 3.17 is the latest compatible version — and the Swift setup steps below are identical.
Adding the Swift Drive in NetDrive
- Open NetDrive on your Mac — it lives in the menu bar after installation.
- Click Add Drive (the + button in the drive manager window).
- Select OpenStack Swift from the provider list.
- Fill in the credential fields: Auth URL, Username, Password, and Project/Tenant Name. Add Region and Container Name if applicable.
- Give the drive a display name — this becomes the volume name visible in Finder under
/Volumes/. - Set Mount Type to Network Drive for full read-write access, or Read-only Drive if you want to prevent writes back to the cluster from this Mac.
- Click Mount.
The volume appears in Finder’s sidebar within a few seconds. Scripts that reference /Volumes/swift-data/ can run immediately — no path changes required.
Working with Swift Files in Finder
Once mounted, the Swift container looks and behaves like a local drive in Finder. You can open files directly in any app — drag a TIFF into Photoshop, open a JSON in VS Code, preview a video with QuickLook — and saves write back to the object store automatically. NetDrive fetches file content on demand; it does not download the entire container to your Mac at mount time.
Large containers with tens of thousands of objects in a flat namespace list more slowly on first open. If you run into this, organizing objects into prefixes on the Swift side helps significantly — NetDrive renders prefixes as folders and loads them incrementally rather than requesting a flat list of all objects at once.
Spotlight search works with mounted NetDrive volumes. If your team needs to find files across the Swift container by filename or metadata, this works without any extra configuration.
Auto-Mount on Login
For a Mac that stays on and serves as a shared relay to the Swift cluster, set Auto Mount to On Login in the drive’s settings. The volume reconnects every time a user logs in, without any manual intervention.
Credentials are stored in the macOS Keychain, so the reconnection is silent and requires no password entry. If you need the drive mounted before any user logs in — for example, on a Mac mini acting as a headless file relay — set it to On Boot instead.
Wrap-up
Mounting OpenStack Swift on macOS with NetDrive gives you a /Volumes/ entry backed by your private cloud — no path changes in existing scripts, no extra daemon to manage, and HTTPS connections out of the box for Keystone-authenticated clusters on any major OpenStack distribution.
For the same workflow on Windows workstations in the same cluster, Mount OpenStack Swift on Windows with NetDrive covers the identical credential setup with drive-letter assignment instead of Finder volumes. If your hybrid infrastructure also includes S3-compatible storage, you can mount both simultaneously from the same NetDrive install — see Mount Amazon S3 on macOS with NetDrive for that setup.
— Robin, NetDrive