Mount Yandex Disk on Windows — Step-by-Step NetDrive Guide

Learn how to mount Yandex Disk as a native Windows drive letter using NetDrive. Browse your cloud files in Explorer without syncing everything locally.
You have storage on Yandex Disk that the official Windows client wants to sync entirely to your SSD. If your library is 50 GB or larger, that’s 50 GB locked up before you open a single file. NetDrive takes a different approach: it mounts Yandex Disk as a real Windows drive letter — Y:, Z:, or whichever you choose — so Windows Explorer, photo editors, and any other application see your files as if they were local, without copying them to your machine.
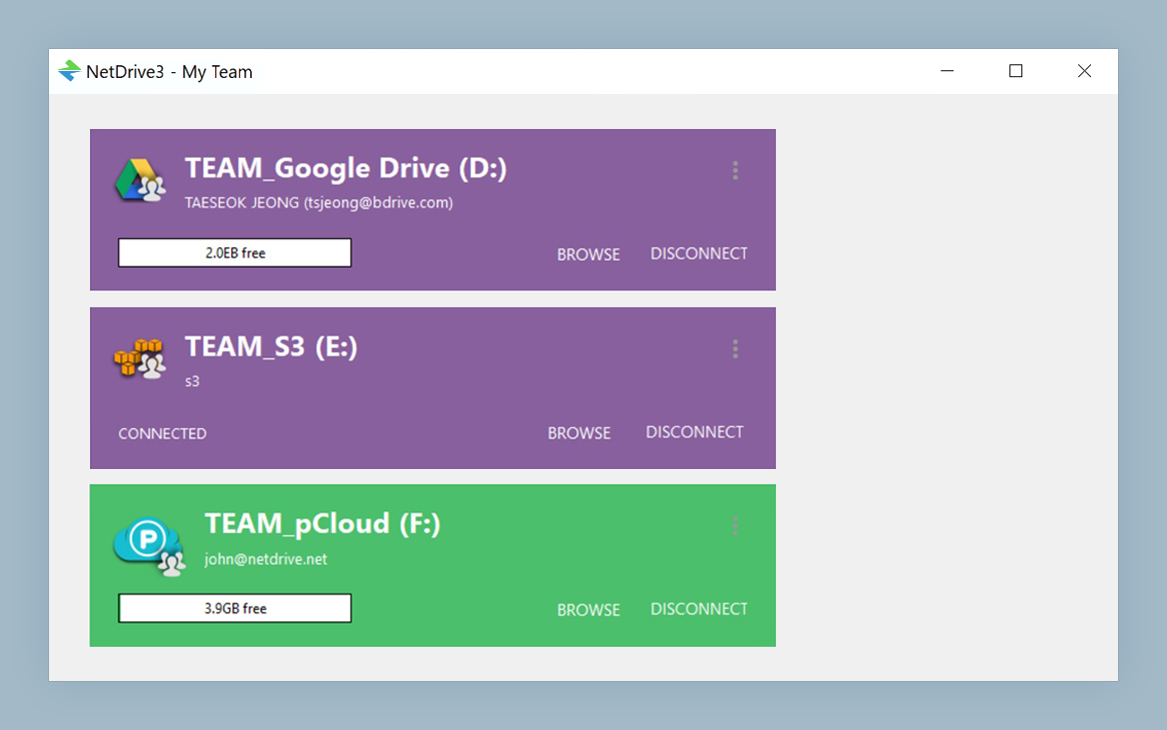
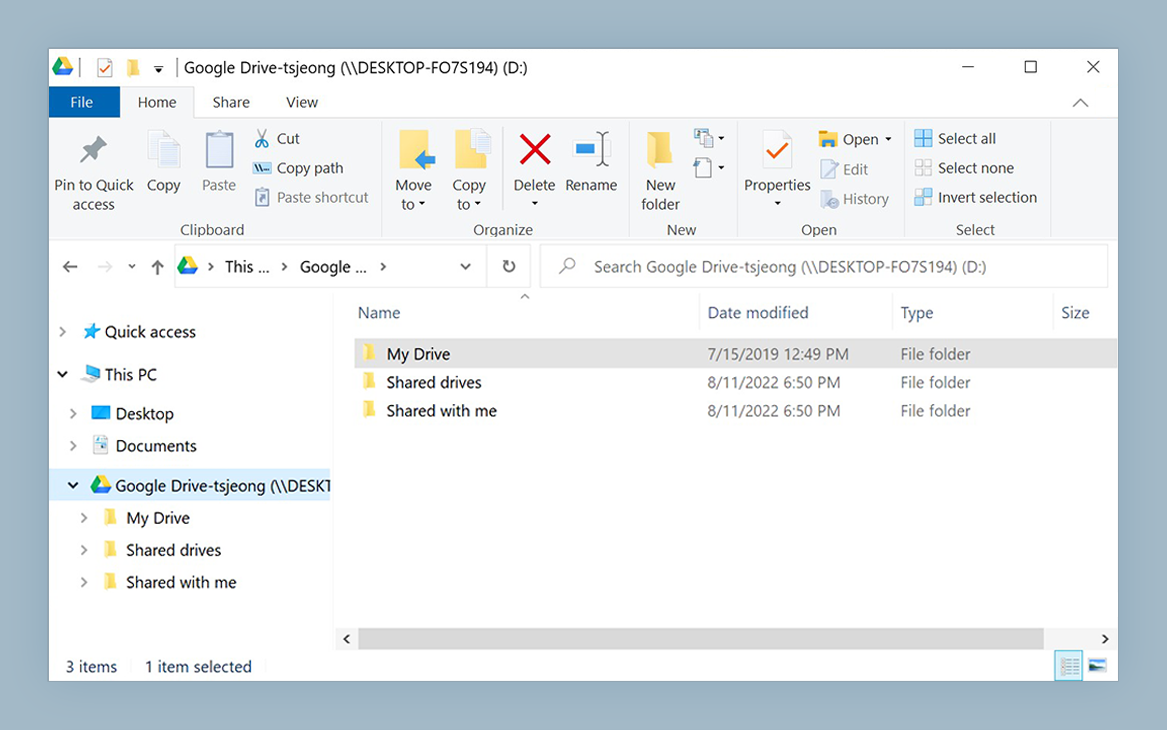
Mount Yandex Disk as a Windows Drive Letter
NetDrive lets Google Drive, OneDrive, S3, SFTP, WebDAV and more appear as native drives on Windows and macOS — no syncing, no full downloads.
- Browse all Yandex Disk files in Explorer without local sync
- Assign any available drive letter (Y:, Z:, etc.)
- Run multiple clouds simultaneously — S3, OneDrive, and Yandex Disk at once
Free trial. Lifetime and subscription plans available.
Mounting vs. Syncing — Why It Matters for Large Libraries
Sync clients mirror your remote files to a local folder and keep both sides identical. That works for a few gigabytes of documents but becomes a problem for a 200 GB photo archive: the sync client occupies 200 GB on your SSD before you can open anything.
NetDrive uses CBFS (Callback Filesystem), a user-space filesystem driver, to present Yandex Disk as a live virtual drive. When you open a file, NetDrive streams the relevant data on demand; when you save, it uploads in the background. Your local disk holds a configurable cache (100 GB to 1 TB, adjustable in NetDrive’s drive settings) rather than the full library.
The result: a 500 GB Yandex Disk shows in Explorer as a drive with 500 GB of content. Your SSD only holds whichever files you’ve recently accessed.
Prerequisites
Before connecting:
- NetDrive 3.9.1190 or later — Yandex Disk support was introduced in that release (April 2020). The current version is 3.19.7, downloadable at netdrive.net/download/windows.
- Windows 8, 8.1, 10, or 11 (Windows Server 2012–2022 also supported)
- A Yandex account with Yandex Disk enabled
- The NetDrive installer handles the required Visual C++ Redistributables automatically on first run — no manual dependency download needed
A 7-day free trial starts automatically on installation; no license key is required to try the connection.
Step-by-Step: Connect Yandex Disk in NetDrive
-
Install NetDrive — run the downloaded
.exeand accept the driver installation prompt. Windows may ask for a UAC confirmation to install the CBFS filesystem driver. -
Open Drive Manager — find the NetDrive icon in the Windows system tray and click Open Drive Manager.
-
Add a new drive — click the + (Add Drive) button in the Drive Manager toolbar.
-
Select Yandex Disk from the provider list. NetDrive opens a browser-based OAuth authorization page for Yandex.
-
Sign in to your Yandex account and grant NetDrive access. After authorization, the browser redirects back to NetDrive automatically and the credential exchange completes.
-
Set the drive letter — in the drive settings panel, pick your preferred letter. Y: is a natural mnemonic for Yandex, but any unoccupied letter works.
-
Choose the Mount Type — leave it as Network drive for standard use. Switch to Read-only drive if you want to prevent accidental writes to the remote storage.
-
Click Connect — the drive appears in Explorer within a few seconds.
Once mounted, drag-and-drop, copy-paste, and Save As all work exactly as they do with a USB drive. Background upload handles large file copies without blocking the Explorer window, and Windows Explorer overlay icons show upload progress on individual files.
Useful Settings After First Mount
Auto-mount on startup: In Drive Settings → Mount, toggle Mount on boot so the Yandex Disk drive reattaches every time Windows starts, even before any user logs in. This is useful on workstations accessed over Remote Desktop where the drive needs to be live before a session opens.
Cache size: Under Drive Settings → Cache, the default is 100 GB. Increase it if you regularly work with large files so repeated opens don’t re-stream from the cloud.
Multiple clouds at once: NetDrive can mount Yandex Disk, an S3 bucket, and OneDrive for Business simultaneously, each on its own drive letter. Add each account through the same + flow in Drive Manager.
Wrap-up
Mounting Yandex Disk through NetDrive gives you full Windows Explorer integration — drive letter, background uploads, and file status overlay icons — without the local sync footprint. If you manage several cloud accounts, see Mount OneDrive on Windows with NetDrive and Mount Dropbox on Windows with NetDrive for the same workflow applied to other providers.
— Steve, NetDrive