Mount pCloud on macOS — NetDrive Setup Guide

Step-by-step guide to mounting pCloud as a native Finder drive on macOS using NetDrive. Access your pCloud files without syncing a local copy.
You have 2 TB of video footage on pCloud and need to pull specific clips into Final Cut Pro without downloading the whole archive. On macOS, the official pCloud Drive app syncs a local copy — fine for everyday files, but impractical at that scale. NetDrive mounts pCloud directly as a Finder drive so you can browse and open your files without syncing a local copy of the archive.
Mount pCloud in Finder — no sync required
NetDrive lets Google Drive, OneDrive, S3, SFTP, WebDAV and more appear as native drives on Windows and macOS — no syncing, no full downloads.
- No local sync — access your pCloud files directly through Finder
- pCloud appears as a native drive alongside your local volumes
- Works on macOS 14 Sonoma and later
Free trial. Lifetime and subscription plans available.
What You Need Before You Start
NetDrive on macOS relies on macFUSE, an open-source kernel extension that lets user-space programs implement filesystems — the same layer that makes a cloud bucket behave like a local disk in Finder.
Requirements:
- macOS 14 Sonoma or later (macOS 13 Ventura and earlier require NetDrive 3.17 — see the macOS compatibility table)
- NetDrive 3.18 or later — download here
- macFUSE — the NetDrive installer will prompt you to install it if it is not already present
- A pCloud account (personal or Business)
pCloud support was added in NetDrive 3.16.589 (March 2022), so any current NetDrive release includes it.
Install NetDrive and macFUSE
- Download the NetDrive DMG from netdrive.net/download/mac/.
- Open the DMG and drag NetDrive into your Applications folder.
- Launch NetDrive. If macFUSE is not installed, NetDrive displays a prompt with a direct link to the macFUSE package installer — install it before continuing.
- After macFUSE installs, macOS asks you to allow the system extension in System Settings → Privacy & Security → Security. Click Allow, then re-launch NetDrive.
The security approval is a one-time step. Once approved, macFUSE persists across reboots and NetDrive updates. If your drive still refuses to mount after this step, see Fix macFUSE Permission Denied — NetDrive Can’t Mount on macOS for a full walkthrough.
Add Your pCloud Drive
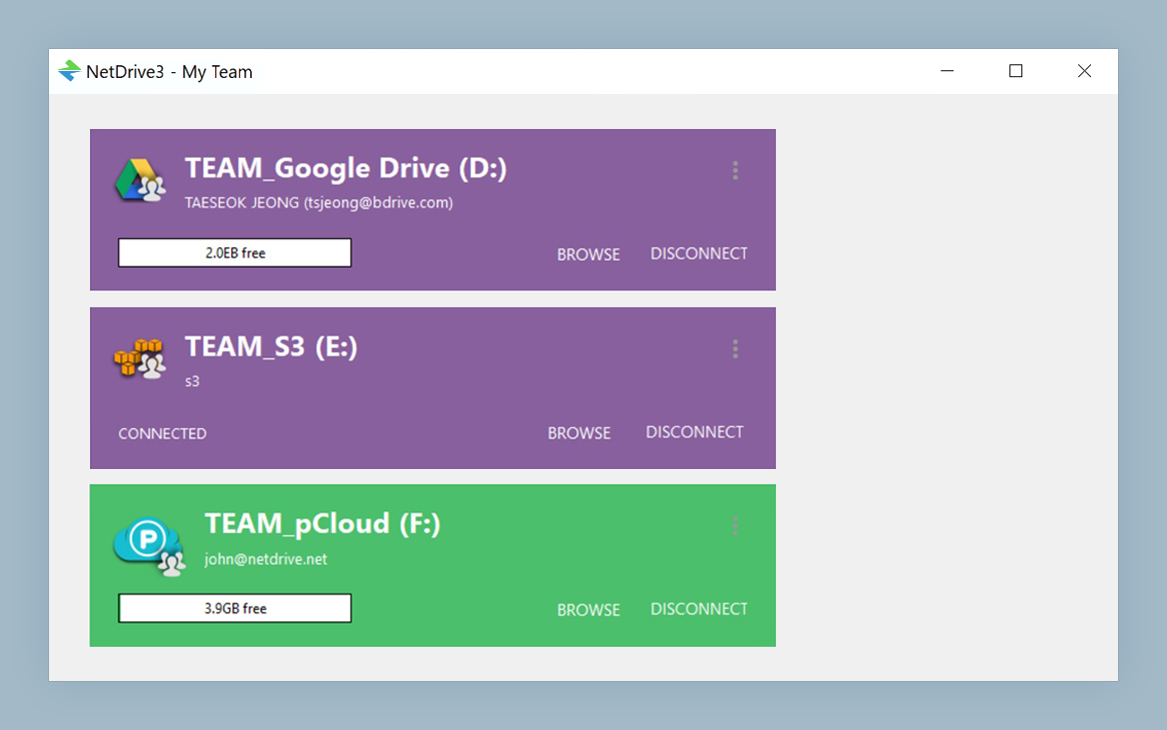
With NetDrive running, click the + button in the drive manager to add a new drive. From the provider list, select pCloud.
NetDrive opens pCloud’s OAuth authorization page in your default browser. Sign in with your pCloud credentials and confirm access. After authorization, the connection details are stored securely in NetDrive — you will not need to log in again unless you revoke access from pCloud’s web interface.
Name the drive something recognizable (for example, “pCloud Archive”), then configure two options before mounting:
- Auto-mount: set to Login to have the drive appear automatically every time you start your Mac.
- Cache size: the default is 100 GB; for large media libraries you can raise this up to 1 TB in Preferences → Cache to keep recently accessed files snappy on re-read.
Mount and Verify
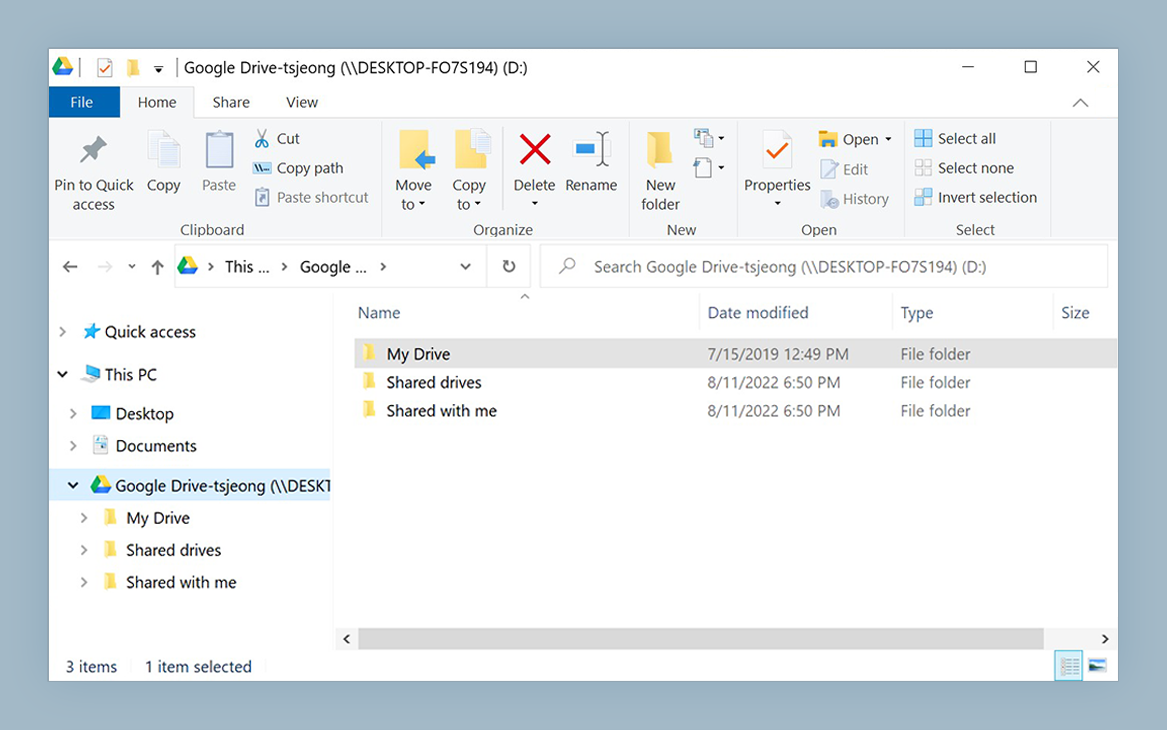
Click Mount next to the pCloud entry. Within a few seconds the drive appears in the Finder sidebar under Locations, identical in behavior to a USB disk or a network share.
Open a folder with large files — the directory listing loads from pCloud’s API without transferring any file content to your Mac. When you double-click a file, NetDrive fetches only that file. Your local disk usage stays near zero for everything you have not explicitly opened or copied down.
To confirm the drive capacity is reporting correctly, right-click it in Finder and choose Get Info — it will display pCloud’s remote storage quota rather than your local disk size.
Handling Large Uploads Back to pCloud
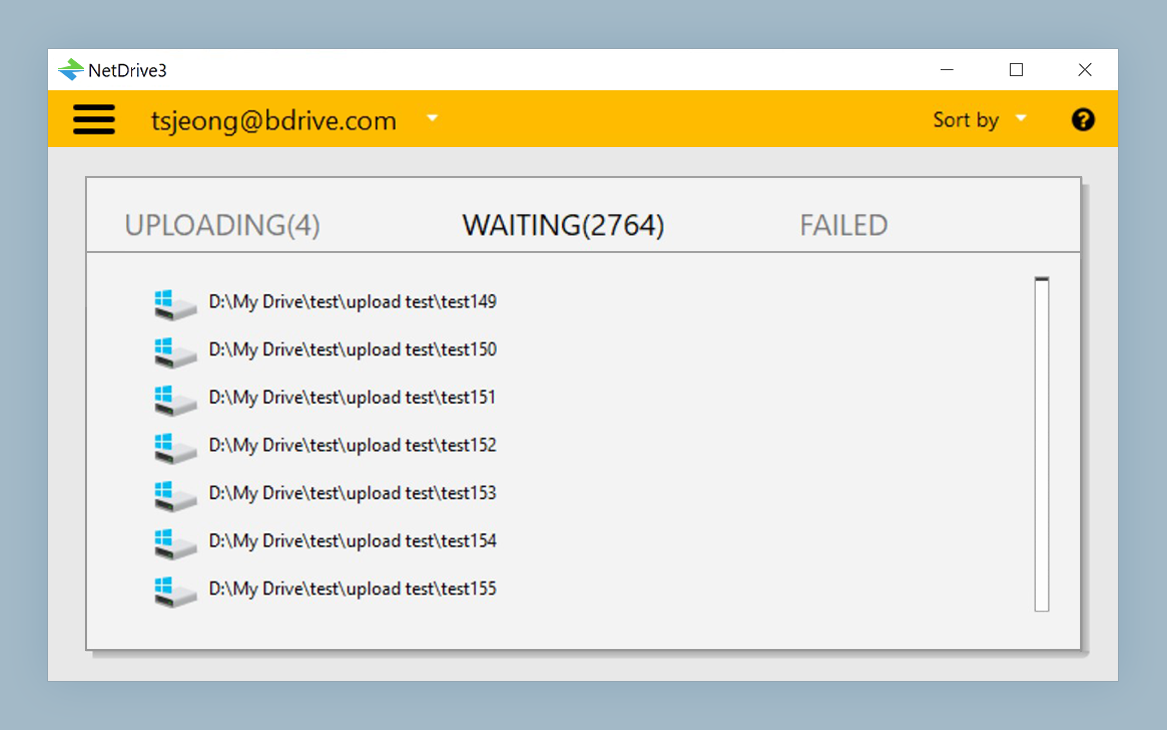
When you save edits back to a mounted pCloud drive, NetDrive queues them as a background upload so Finder returns control immediately rather than blocking until the transfer finishes. You can monitor the queue from the NetDrive status bar icon.
To avoid saturating your uplink while editing, open Preferences → Bandwidth and set an upload ceiling. A creative professional on a 200 Mbps symmetric line might cap uploads at 50 Mbps to keep video conferencing and browser traffic responsive during a session.
Boot-Time Mount for Shared Workstations
If an editing suite Mac needs pCloud available before any user logs in — for example, to serve files to a render process that starts at boot — set the drive’s auto-mount option to Boot instead of Login in the drive configuration panel. NetDrive will mount the drive at OS startup without requiring an interactive login session.

Wrap-up
Mounting pCloud through NetDrive gives macOS a Finder-native view of your cloud storage without the local sync overhead that the official pCloud client requires. For teams sharing large assets on pCloud Business, combining this with NetDrive’s file-lock feature prevents collaborators from overwriting each other’s work mid-project — see File Locking in NetDrive for details on that workflow.
— Steve, NetDrive