Mount Azure Blob Storage on Windows — NetDrive Setup Guide
Step-by-step guide to mounting Azure Blob Storage as a Windows drive letter using NetDrive. Browse containers in Explorer without syncing any blobs locally.
Your CI pipeline stores 80 GB of build artifacts in Azure Blob Storage. A designer on your team needs to open individual PSD files from that container without pulling the whole bucket first. Azure Storage Explorer gives them a GUI to browse, but it does not create a drive letter — which means creative tools cannot open blob files directly. NetDrive fixes that: it mounts an Azure Blob container as a standard Windows drive letter, so every application that can open a local file can open a blob.
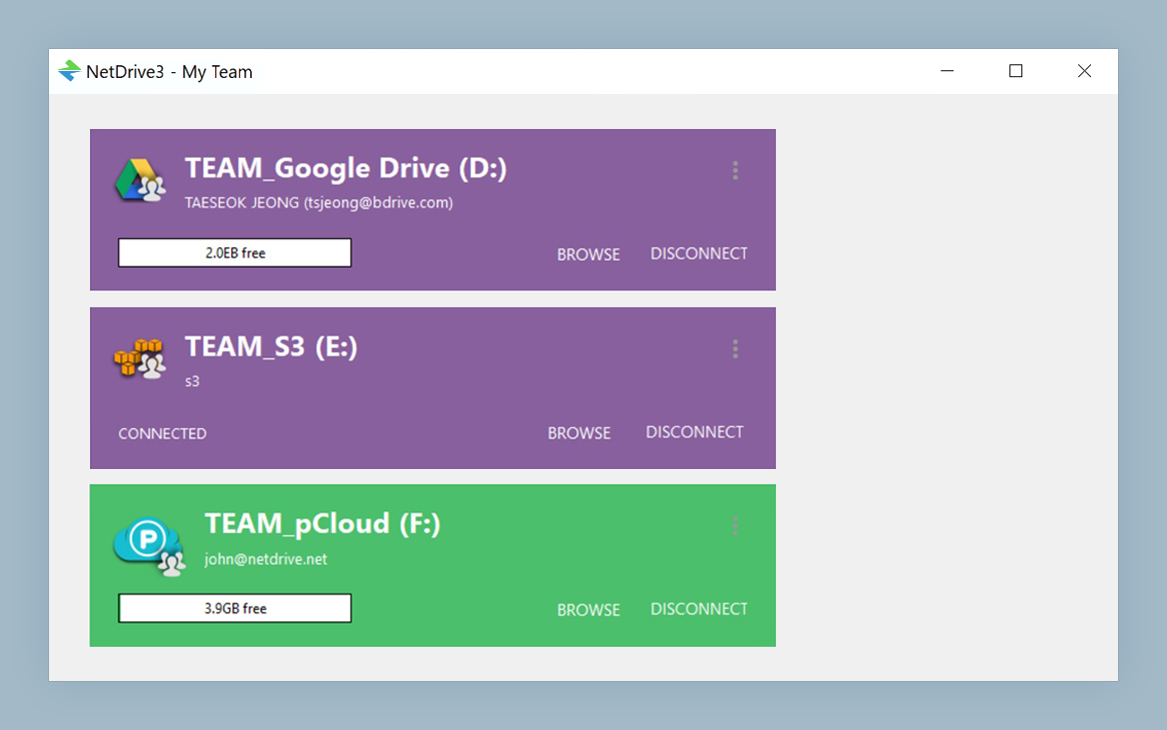
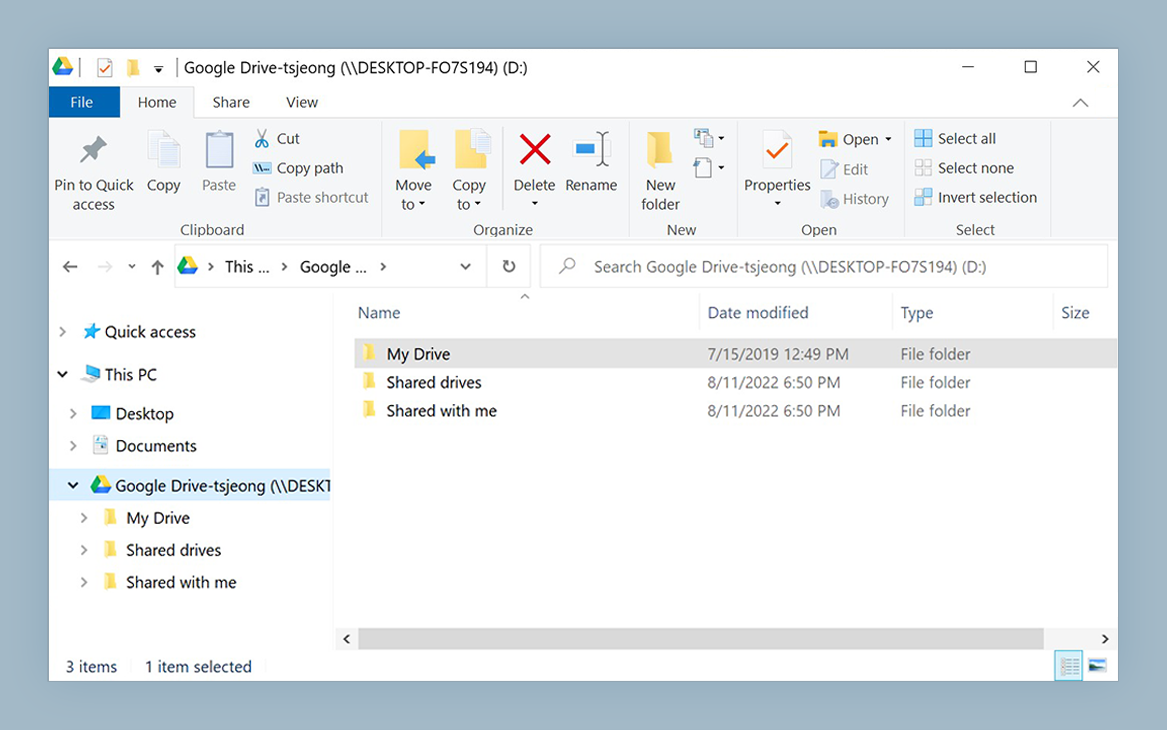
Mount Azure Blob as a Windows Drive in 3 Steps
NetDrive lets Google Drive, OneDrive, S3, SFTP, WebDAV and more appear as native drives on Windows and macOS — no syncing, no full downloads.
- Browse blobs in Explorer without syncing locally
- Any Windows app can open files directly from the container
- Auto-mount at boot — no login required
Free trial. Lifetime and subscription plans available.
How NetDrive Differs from AzCopy and Azure Storage Explorer
Azure Storage Explorer is a management GUI — great for uploading, deleting, and generating SAS tokens, but it does not create a mounted path the operating system recognizes. AzCopy is a command-line transfer tool; it moves files, but again, no drive letter.
NetDrive’s purpose is different: it presents a remote Blob container as a native Windows drive. The underlying driver is CBFS (Callback Filesystem) by Callback Technologies, a user-space filesystem driver that Windows treats the same as a hardware storage device. Since version 3.19.7 (2026-04-01), WinFSP is also available as an alternative mount backend.
NetDrive added Azure Blob Storage support in version 3.11.204 (July 2020), alongside Azure File Storage. If your Azure storage account uses File Storage instead of Blob Storage, NetDrive supports that too from the same release.
What You Need from the Azure Portal
Before opening NetDrive, collect three values:
- Storage account name — on the Azure Portal overview page for your Storage account resource.
- Container name — the specific Blob container to mount (for example,
build-artifactsorraw-assets). - Authentication credential — either the primary account key (Azure Portal → Storage account → Security + networking → Access keys) or a Shared Access Signature (SAS) token scoped to the container.
A SAS token is preferable in shared environments. When generating it, grant at minimum: Read, Write, Delete, List, Add, Create. Set an expiry date that aligns with your credential rotation policy.
Mounting the Container — Step by Step
-
Install NetDrive from netdrive.net/download/windows. The installer bundles the required Visual C++ redistributables (vcredist12 and vcredist14 in both 32-bit and 64-bit variants) automatically.
-
Open the NetDrive Drive Manager from the system tray icon or the Start menu.
-
Click Add Drive (the
+button) and scroll to Azure Blob Storage in the provider list. -
Fill in the connection form:
- Account Name: your storage account name (for example,
mycompanystorage) - Container: the container name (for example,
build-artifacts) - Authentication: paste your account key or SAS token
- Account Name: your storage account name (for example,
-
Assign a drive letter. NetDrive picks the next available letter by default. For team consistency, pin it to a fixed letter such as
Z:so that shared scripts and application shortcuts do not need updating when a team member reconnects. -
Set the Mount On policy:
- Boot — mounts before any user logs in (useful for Windows services that read from the container at startup)
- Login — mounts when a user session starts (typical workstation setup)
- Disabled — mount manually as needed
-
Click Connect. Within a few seconds, the container appears under “This PC” in Windows Explorer as a standard drive.
Large Files and Background Uploads
When you copy a 5 GB build artifact into the mounted drive, NetDrive accepts the write locally and returns control to your shell immediately. The upload proceeds in the background while you continue working. The status panel shows the upload queue and per-file progress.
For files 5 GB and above, NetDrive uses block upload — Azure Blob’s equivalent of multipart upload. A failed upload at 80% does not restart from zero; only the failed blocks are retried.
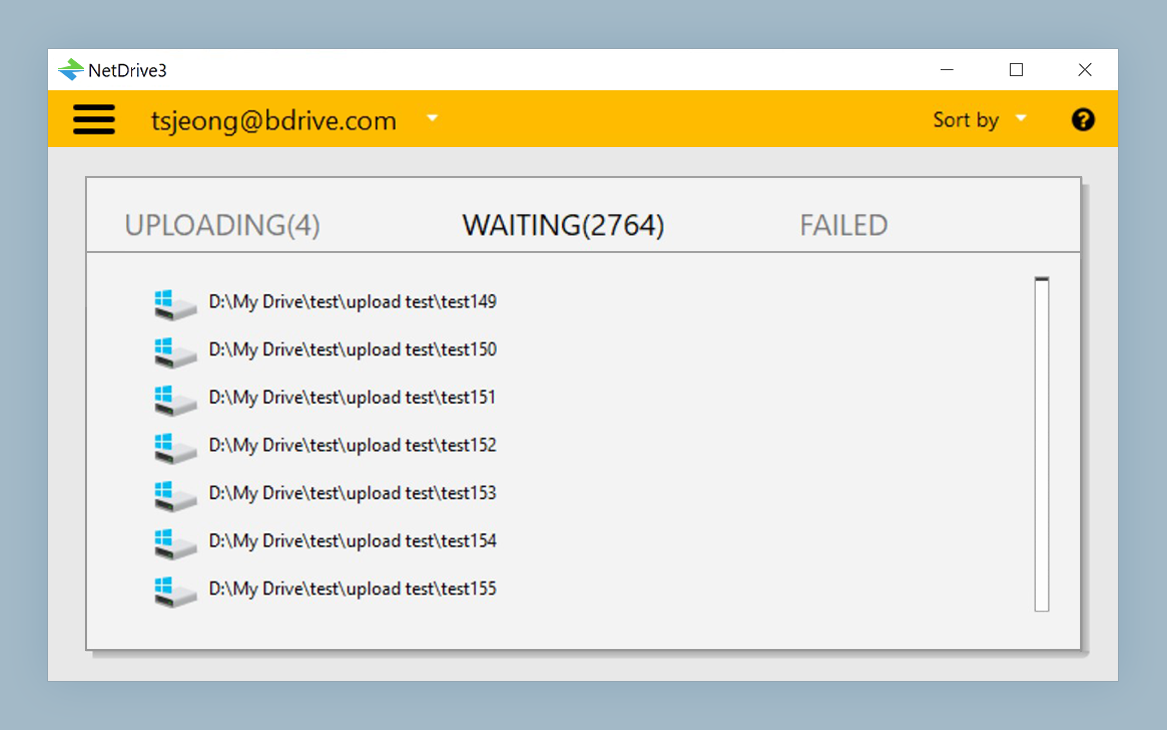
You can switch to synchronous upload mode in the drive settings if your workflow requires confirmed writes before the next pipeline stage reads the file. This is the right setting for data workflows where the consumer runs immediately after the producer finishes.
File Status Overlays in Windows Explorer
NetDrive adds shell overlay icons to Explorer entries so you can see upload state at a glance — whether a file is fully uploaded, currently being transferred, or cached locally pending the next write cycle.
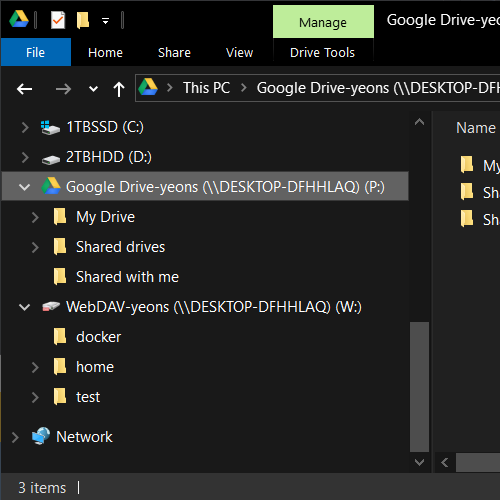
This is particularly useful when two team members have the same container mounted. The overlay reflects the current live state rather than a stale cached directory listing — important when one person writes a file at the same time another is reading it.
Wrap-up
Mounting Azure Blob Storage with NetDrive is a one-time, three-minute setup that makes every Windows tool on your machine — editors, preview apps, CI agents, and terminal scripts — treat remote blobs as local files. There is no sync step and no separate download client to maintain.
If you work with S3-compatible object storage alongside Azure, see Mount Amazon S3 on macOS with NetDrive for the equivalent setup on macOS, and DevOps: Mount S3 for CI Test Fixtures with NetDrive for a CI-specific pipeline workflow.
— Tayson, NetDrive