Mount Azure Blob Storage on macOS — NetDrive Setup Guide

Connect Azure Blob Storage containers to macOS as a native drive with NetDrive. Step-by-step guide for macOS Sonoma and later.
A machine-learning pipeline that writes model checkpoints to Azure Blob every 20 minutes is only as useful as how quickly you can pull those files to your Mac. Downloading through the Azure web portal — one container at a time — is slow enough to break your flow. NetDrive mounts your Blob containers directly in Finder so you can drag, drop, and open files as if they were on a local drive.
Mount Azure Blob Storage as a Mac drive
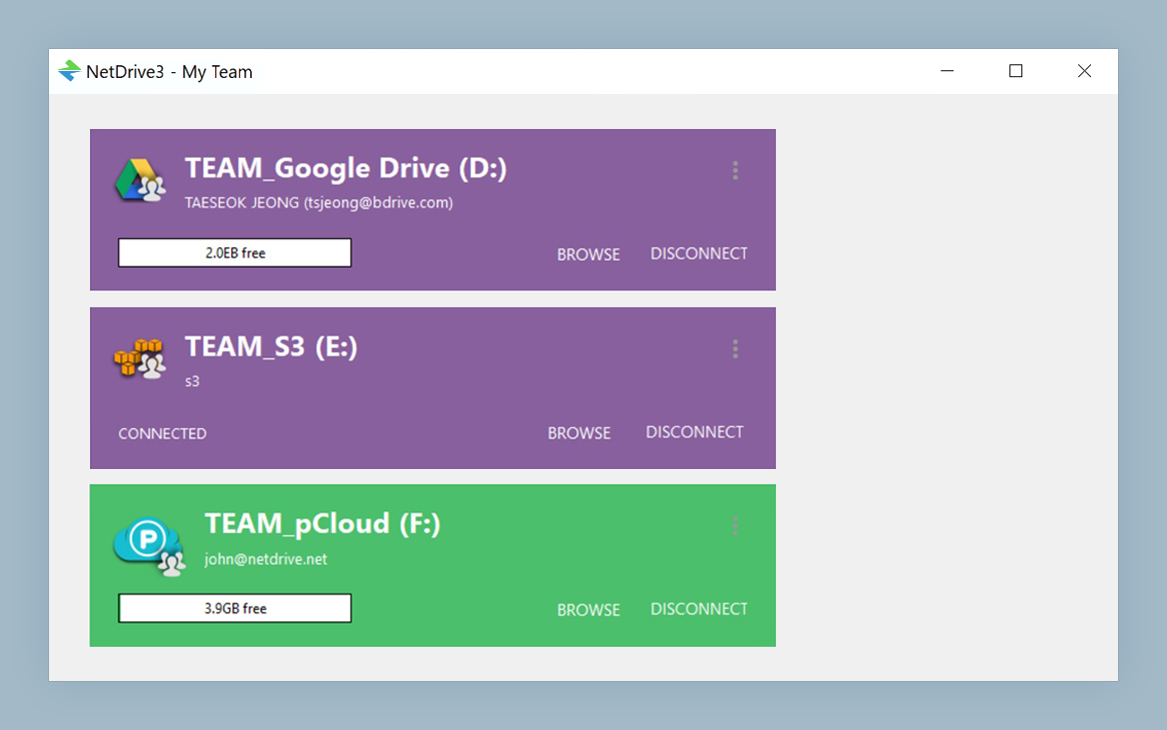
NetDrive lets Google Drive, OneDrive, S3, SFTP, WebDAV and more appear as native drives on Windows and macOS — no syncing, no full downloads.
- Browse containers and blobs in Finder without downloading first
- Background uploads — queue files and keep working immediately
- Add multiple Azure accounts side by side
Free trial. Lifetime and subscription plans available.
Requirements: macOS Version and Azure Credentials
NetDrive requires macOS 14 Sonoma or later for its current release (3.18 and newer). If you are still on macOS 13 Ventura, you’ll need NetDrive 3.17, which is available from the release archive. Azure Blob Storage support has been in NetDrive since version 3.11 (released July 2020), so any current build includes it.
Before opening NetDrive, collect two values from the Azure Portal:
- Storage Account Name — shown at the top of your Storage Account overview page in the Azure Portal.
- Access Key — navigate to your Storage Account → Security + networking → Access keys, then copy either
key1orkey2. These are 88-character base64 strings; copy the full value.
If you prefer not to hand over a root-level account key, generate a Shared Access Signature (SAS) with at minimum Read, Write, and List permissions scoped to the Blob service. NetDrive accepts either format in the same field.
Adding the Drive in NetDrive
- Open NetDrive from the menu bar or Applications → NetDrive.
- Click + (Add Drive) in the Drive Manager.
- Scroll the provider list and select Azure Blob Storage.
- Enter your Account Name in the first field.
- Paste the Access Key (or SAS token) into the key field.
- Give the drive a label — “Azure ML Checkpoints” or “Project Assets” keeps things clear when you have several drives mounted.
- Click Connect. The volume appears in Finder’s sidebar within a few seconds.
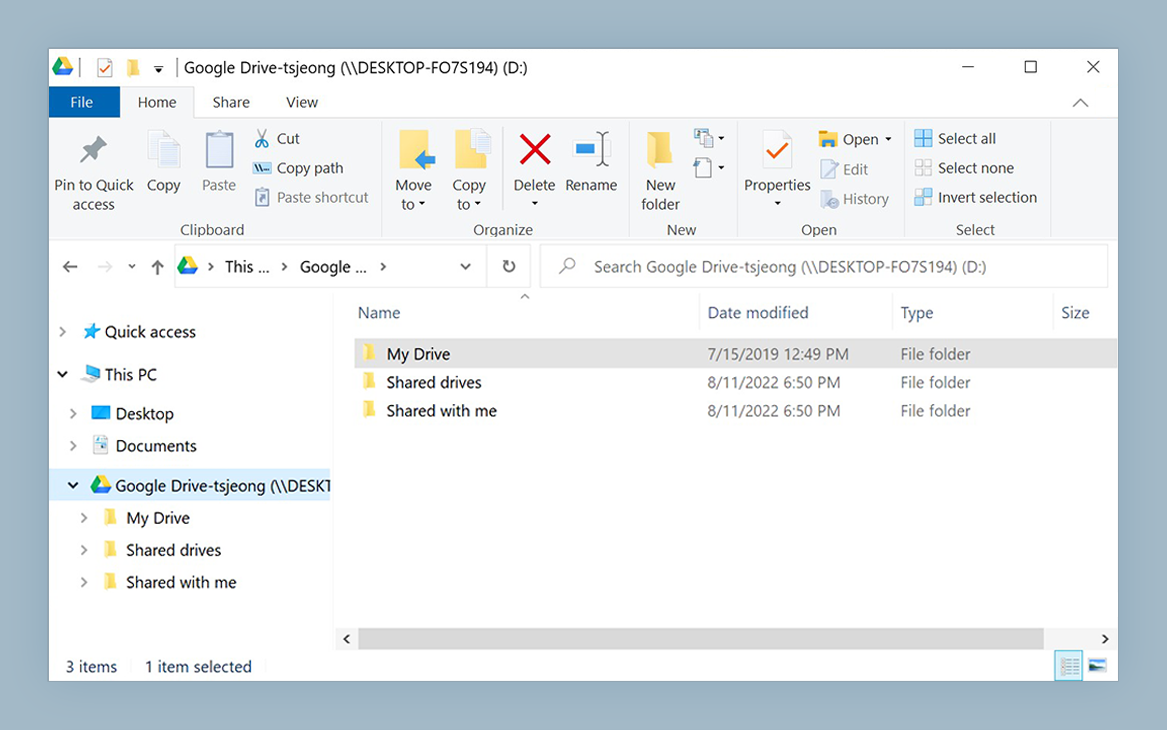
Each Blob container appears as a top-level folder on the mounted drive. Blobs are the files inside those folders. Standard Finder operations — rename, duplicate, move to Trash — all work as expected and propagate to Azure immediately.
Working With Large Files and Uploads
NetDrive streams blob data on demand rather than pulling a full download before you can open a file. For a video editor with several hundred gigabytes of 4K source clips in Blob storage, this means you can scrub through a .mov in QuickTime without waiting for the full file to land locally.
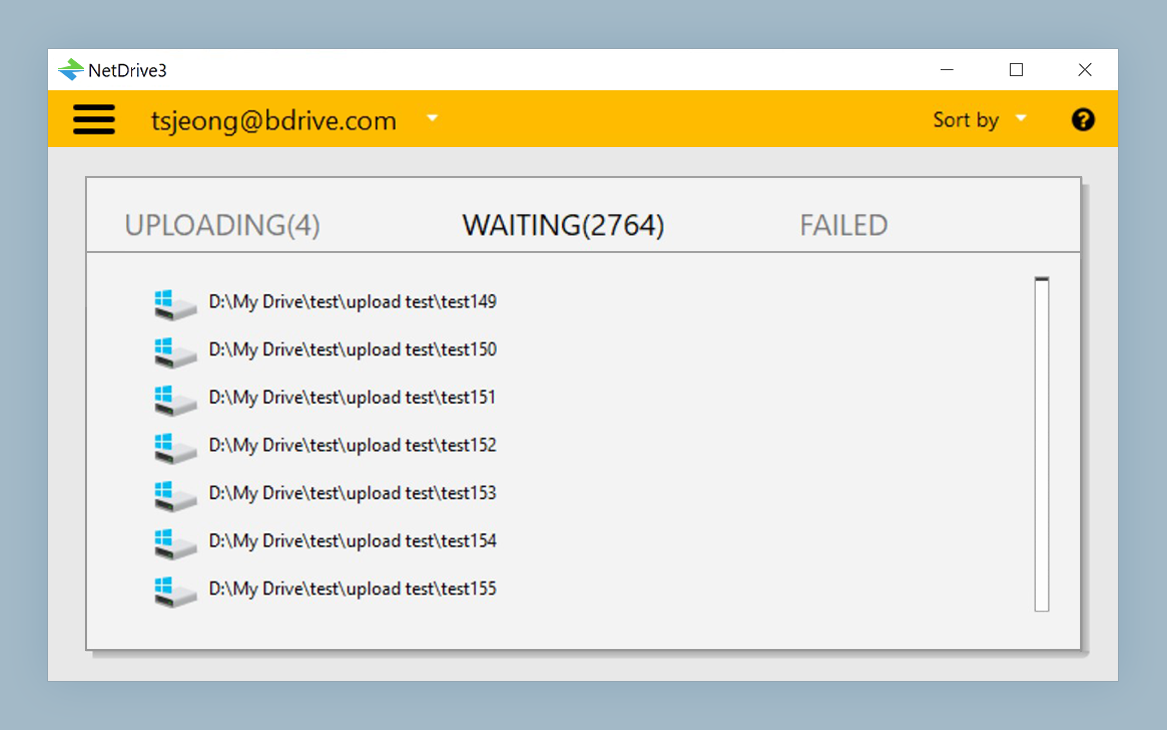
Uploads work the same way. Drag any file from your Mac into the Finder window for the Azure drive and NetDrive queues it as a background upload. The menu bar icon shows live progress, and you can keep using the rest of your drive — or start another upload — while the first transfer is still running. You can monitor or cancel queued items from the transfer list in the Drive Manager.
Auto-Mount at Login or Boot
If this Blob container is part of your daily workflow, avoid reconnecting it every morning. In Drive Settings for the Azure drive, set Auto Mount to Login (connects when your user account signs in) or Boot (connects at system start, before any login). The Boot option suits shared workstations where the drive should be available to all users.

Troubleshooting Common Errors
Authentication failed — verify the Account Name contains no extra spaces or line breaks, and that the Access Key is pasted in full. Keys regenerated in the Azure Portal invalidate previous ones; if another team member rotated the key recently, paste the current version.
Container not visible — confirm the SAS token or access key includes the List Blobs permission. A read-only SAS that omits List will authenticate successfully but return an empty folder listing, making it appear the container is missing.
Drive disconnects after sleep — open Drive Settings → Connection and enable Keep alive. macOS can suspend the network connection during display sleep; the keep-alive option maintains it so the drive reattaches cleanly when your screen wakes.
Wrap-up
Azure Blob Storage in NetDrive gives macOS users a Finder-native window into their cloud data without context-switching to a web portal. If your team also uses Azure File Storage (which exposes a traditional SMB-compatible file share), the setup steps are nearly identical — see Mount Azure File Storage on Windows with NetDrive for reference. And if multiple teammates need access to the same Blob container, NetDrive’s Team Drive feature lets an admin publish the connection to everyone’s machine from a central console.
— Alex, NetDrive