Mount Wasabi on macOS with NetDrive — S3-Compatible Setup Guide

Mount your Wasabi hot cloud storage bucket as a native macOS volume using NetDrive. Step-by-step guide for creatives and developers on macOS Sonoma and later.
A documentary team stores 6 TB of ProRes masters on Wasabi — no egress fees means they can scrub through footage on location without worrying about bandwidth bills. NetDrive mounts the bucket directly into macOS Finder as a volume, so Final Cut Pro and DaVinci Resolve treat Wasabi files exactly like a local external drive, without a separate sync client pulling terabytes of data to disk first.
Mount Wasabi as a macOS volume in minutes
NetDrive lets Google Drive, OneDrive, S3, SFTP, WebDAV and more appear as native drives on Windows and macOS — no syncing, no full downloads.
- Access Wasabi buckets as a native macOS volume in Finder
- Open cloud files directly in Final Cut Pro, DaVinci, or any Mac app
- Background uploads keep your local workflow uninterrupted
Free trial. Lifetime and subscription plans available.
What You Need Before Starting
NetDrive 3.18 and later require macOS 14 Sonoma or newer. If you’re on macOS 13 Ventura, use NetDrive 3.17 — the 3.18 update dropped support for older macOS releases. NetDrive runs natively on both Intel and Apple Silicon machines; Apple Silicon native support was added in version 3.14.309.
NetDrive on macOS uses macFUSE to present remote storage as a kernel-level filesystem. macFUSE is an open-source kernel extension available at osxfuse.github.io. NetDrive’s installer will prompt you to install macFUSE if it isn’t already present. You may need to approve the system extension in System Settings → Privacy & Security and restart once. This is a one-time step per machine.
Before opening NetDrive, collect these three items from your Wasabi console:
- Access Key ID — generated under Account → Access Keys.
- Secret Access Key — shown once at creation time. If yours is lost, generate a new key pair.
- Regional endpoint hostname — Wasabi uses region-specific hostnames. A bucket in
us-east-1usess3.wasabisys.com; one ineu-central-1usess3.eu-central-1.wasabisys.com. Wasabi’s service endpoint documentation lists every region.

Connecting Wasabi in NetDrive
- Download and install NetDrive from netdrive.net/download/mac. Accept the macFUSE installation prompt if it appears, then restart if macOS requests it.
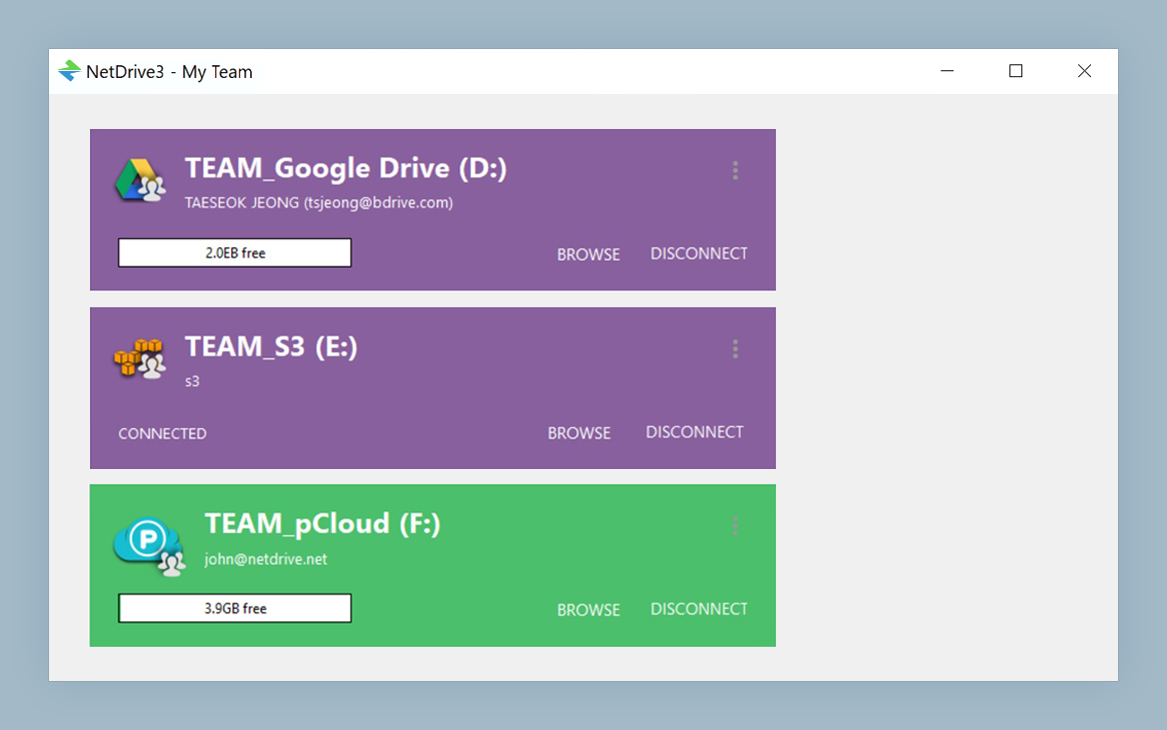
- Open NetDrive from the Applications folder. The Drive Manager window appears; you can also reach it from the menu bar icon.
- Click the + button to add a new drive.
- In the provider list, select Amazon S3. Wasabi is S3-compatible — NetDrive has supported S3-compatible endpoints since version 3.4.398, and Wasabi is one of the explicitly listed providers in that category.
- Paste your Access Key ID and Secret Access Key into the corresponding fields.
- Enable Use custom endpoint and enter your bucket’s regional hostname — for example
s3.eu-central-1.wasabisys.com. Leave the port field empty; NetDrive uses HTTPS on port 443 by default. - Enter your bucket name, or click the list icon to have NetDrive enumerate buckets associated with your credentials.
- Set a mount path. NetDrive defaults to a volume under
/Volumes/; you can rename the volume label to something descriptive likeWasabi-Masters. - Click Save, then Mount. The volume appears in Finder’s sidebar within a few seconds.
Working with Wasabi Files on macOS
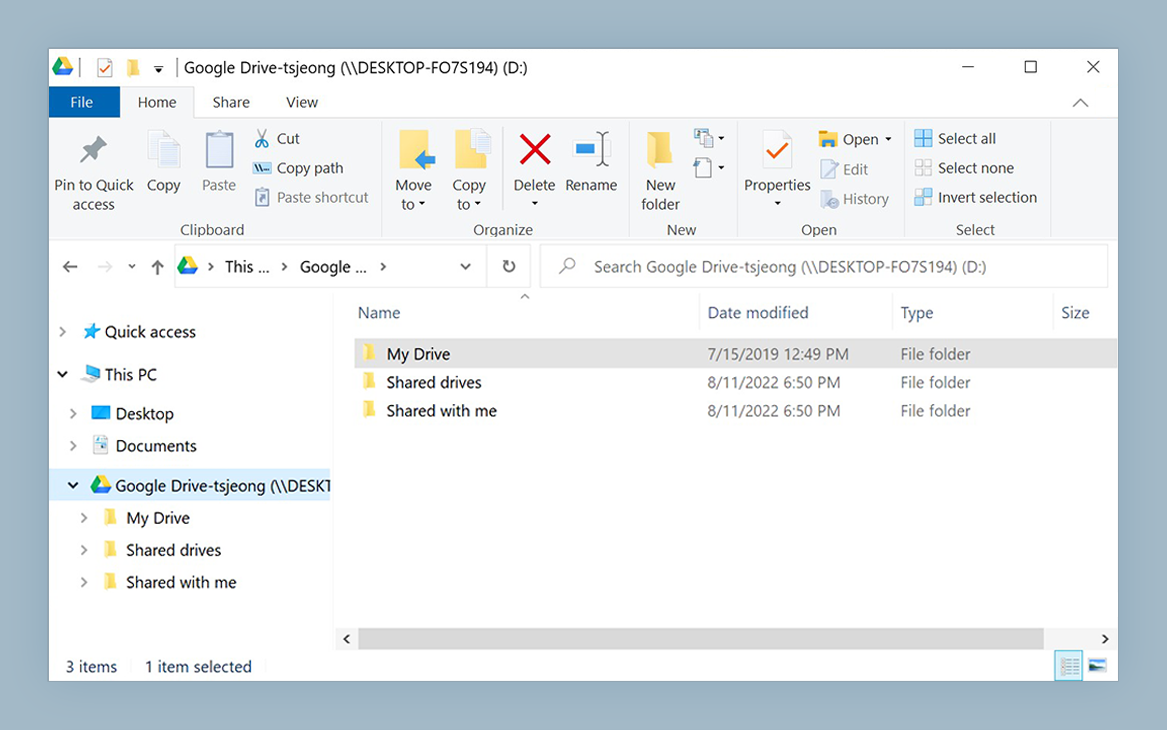
Once mounted, the Wasabi volume behaves like any network volume in Finder. You can drag files in and out, open them directly in any application, and — since version 3.16.667 — use Spotlight to search mounted content by filename and metadata.
For files above 5 GB, NetDrive switches to multipart upload automatically. A progress indicator in the menu bar shows the upload queue status, so you can tell at a glance when a large export has finished syncing to Wasabi.
NetDrive maintains a local disk cache of recently accessed data, configurable from 100 GB to 1 TB in the drive settings. If you’re opening the same 4K master repeatedly during a color session, the second and subsequent opens skip the Wasabi round-trip entirely. The cache persists across mounts and is managed automatically.
Auto-Mount on Login and Boot
To have the Wasabi drive appear automatically whenever you log into macOS, open the drive’s settings in NetDrive and set Auto Mount to On Login. NetDrive stores credentials securely and re-establishes the connection as part of your login sequence.
For unattended machines — a shared editing workstation or a render node — set Auto Mount to On Boot instead. This mounts the drive before any user logs in, so automated jobs that reference the Wasabi volume path can start immediately without waiting for a session.
Wrap-up
Wasabi with NetDrive gives macOS users a practical way to work with large object storage buckets without a sync client or manual download step. If you hit a 403 Access Denied error during setup, check that your Access Key has at least GetObject, PutObject, and ListBucket permissions on the target bucket — the Fix S3 Access Denied Error with NetDrive post covers the most common IAM misconfigurations. For the Windows version of this workflow, see the Mount Wasabi on Windows guide.
— Alex, NetDrive