Mount Mega on macOS — Access Your Cloud as a Native Drive

How to mount Mega cloud storage as a drive on macOS using NetDrive. Requires macOS 14 Sonoma and NetDrive 3.18 or later. Includes 2FA setup.
You have 150 GB of video project files in Mega and need them accessible from Final Cut Pro right now — without waiting for a full local sync. NetDrive mounts your Mega account as a native macOS drive, visible in Finder like any external disk. No dedicated sync client running in the background, no duplicate copy on your SSD.
Mount Mega as a drive on macOS
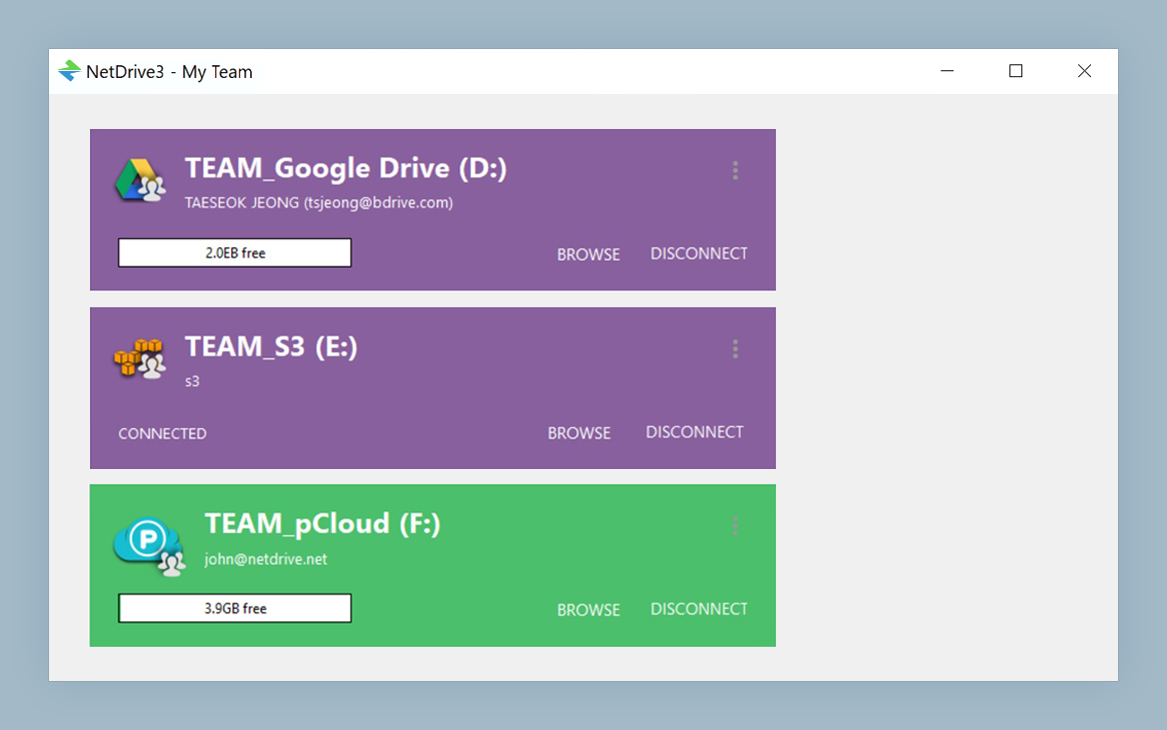
NetDrive lets Google Drive, OneDrive, S3, SFTP, WebDAV and more appear as native drives on Windows and macOS — no syncing, no full downloads.
- Browse Mega files directly without downloading everything
- Works with personal Mega accounts and Mega 2FA
- Requires macOS 14 Sonoma and NetDrive 3.18 or later
Free trial. Lifetime and subscription plans available.
Prerequisites — macOS Version and macFUSE
NetDrive 3.18 (released February 2025) requires macOS 14 Sonoma as the minimum OS. If you’re still on macOS 13 Ventura, use NetDrive 3.17 instead. Download the current version from netdrive.net/download/mac/.
NetDrive uses macFUSE — a kernel extension — to implement the virtual filesystem layer that makes cloud storage appear as a native drive. On Sonoma and later, macOS requires explicit approval for kernel extensions. After running the NetDrive installer, go to System Settings → Privacy & Security and click Allow next to the macFUSE entry. This is a one-time step; subsequent NetDrive launches and mounts will not ask again.

Mega support in NetDrive goes back to version 3.11.204 (July 2020). Two-factor authentication for Mega accounts was added in 3.14.309 (December 2020), so if you use Mega’s built-in 2FA, NetDrive handles it during the connection handshake.
Adding Mega to NetDrive
Open NetDrive from your Applications folder or the menu bar icon. The drive manager lists all configured connections as cards with mount status.
Click the + button in the bottom-left corner. In the provider selection panel, find Mega and click it.
Fill in the connection details:
- Email — your Mega account email address
- Password — your Mega password
- If Mega 2FA is active on your account, NetDrive will prompt for the 6-digit TOTP code from your authenticator app after validating your credentials
Under the Options section, configure:
- Drive Name — the label shown in Finder’s sidebar (e.g., “Mega – Projects”)
- Mount Type — choose from Network drive, Read-only drive, Local disk, or Removable drive. For most use cases, Network drive is the right choice. If you want to browse files without any risk of accidental edits, pick Read-only drive.
Click Save, then click the Mount button (the triangle icon on the connection card) or set it to mount automatically on launch.
Working with Mega in Finder
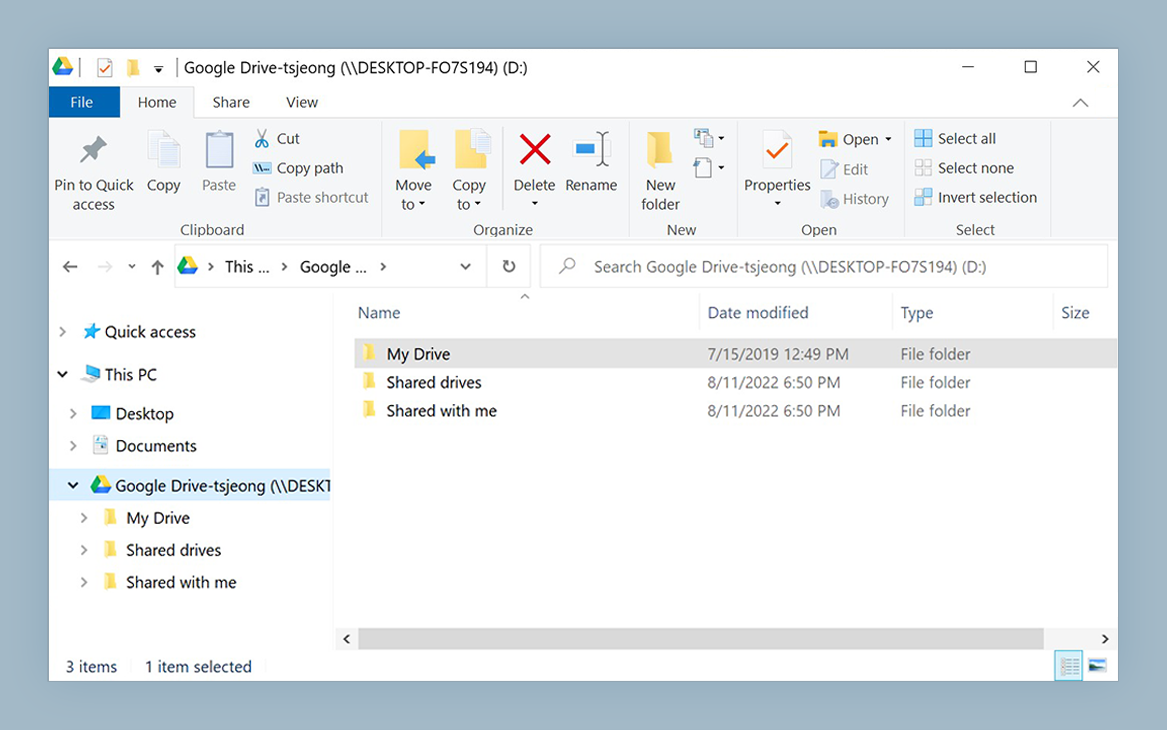
After mounting, your Mega storage appears in Finder’s sidebar and Desktop. Any macOS application can access it using a standard file path — no special Mega SDK integration needed.
A few things worth knowing:
On-demand access: NetDrive fetches file content as applications request it, so you can open large files without waiting for a full local download first. A fast connection makes a real difference for large media files.
Bandwidth limits: NetDrive supports customizable upload and download bandwidth caps, which is useful if Mega activity is competing with a video call or CI pipeline.
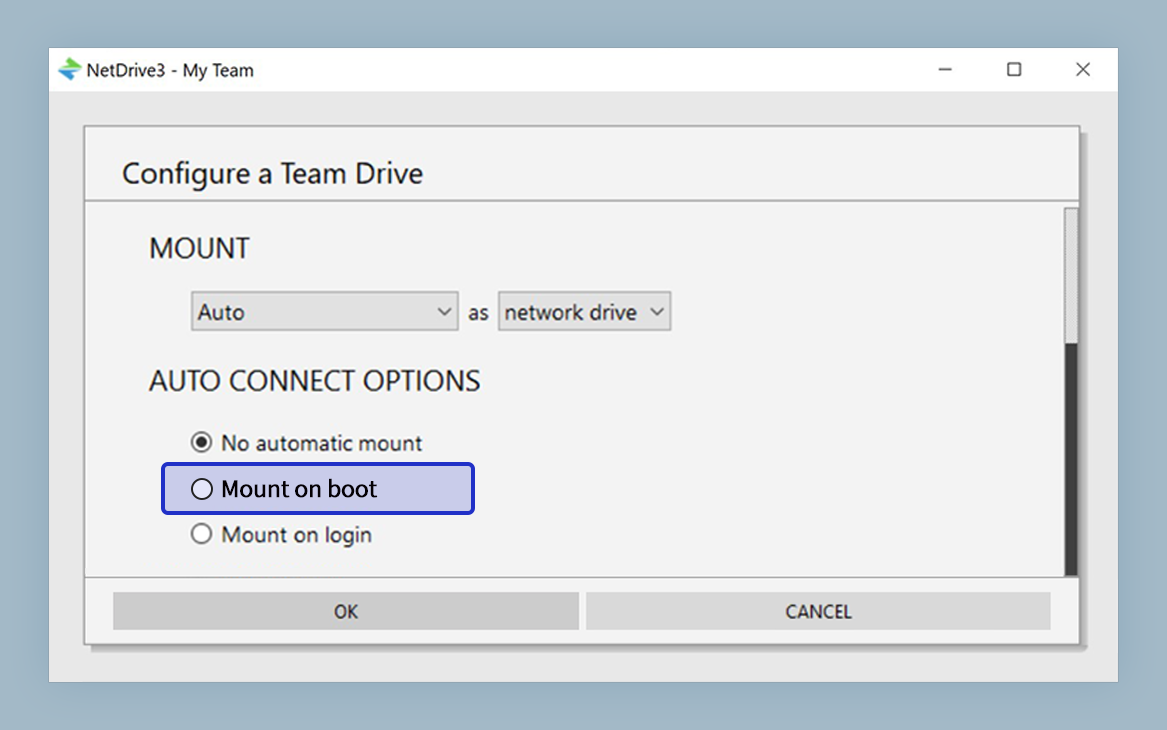
Auto-mount at boot: Open the connection settings and set the Mount on option to Boot. NetDrive mounts the drive during system startup, before you log in — useful for servers or workstations that need the drive available to all users and services.
Wrap-up
Mounting Mega on macOS with NetDrive takes about two minutes: install NetDrive, approve the macFUSE extension in System Settings, add your Mega connection, and mount. Once it’s up, Mega behaves like any local folder for any application on your Mac.
If you’re running multiple cloud accounts alongside Mega, see Mount Dropbox on macOS with NetDrive or Mount OneDrive on macOS. For the same Mega setup on Windows, check Mount Mega on Windows — NetDrive.
— Robin, NetDrive