Mount a WebDAV Server on macOS with NetDrive — Finder Drive Setup
Connect any WebDAV endpoint to macOS as a native Finder drive using NetDrive 3.18+. Covers macFUSE setup, authentication, automount on login, and sleep reconnect.
A research lab running a self-hosted WebDAV server on an internal NAS wanted macOS users to open datasets directly in Python and R without downloading files first. Mounting the WebDAV share through NetDrive gives every researcher a /Volumes/lab-data path they can point scripts at — no separate client, no per-session manual mount from Finder’s “Connect to Server” dialog.
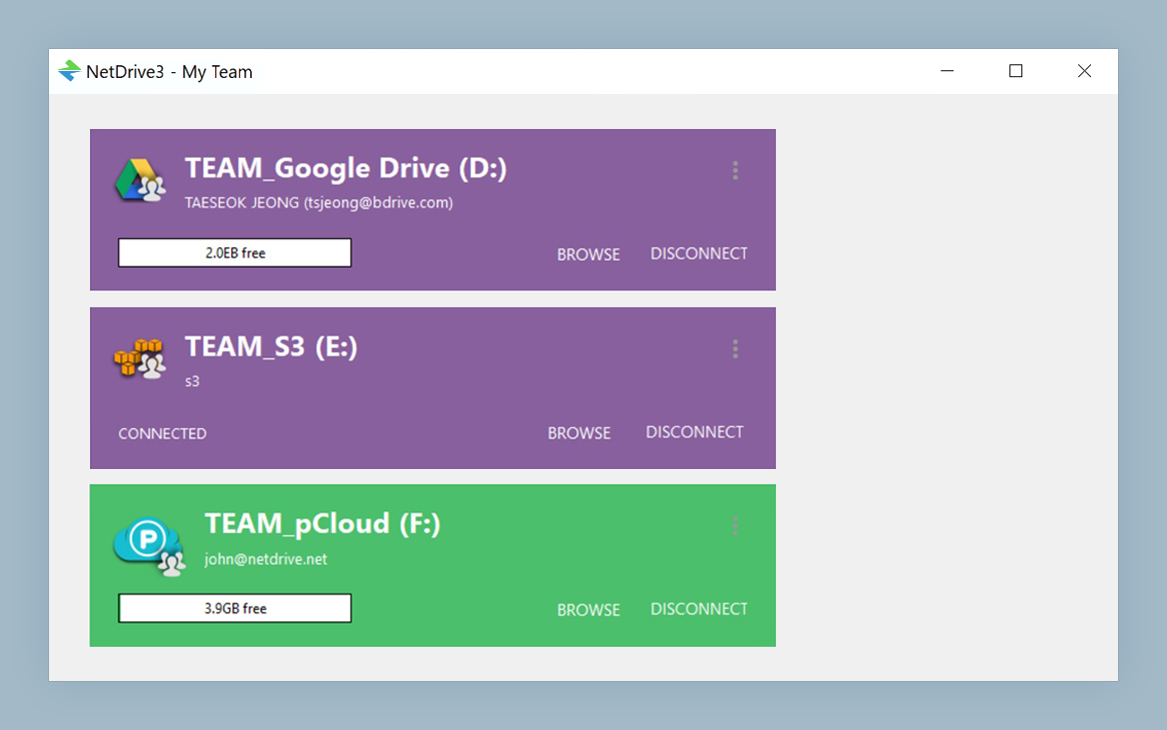
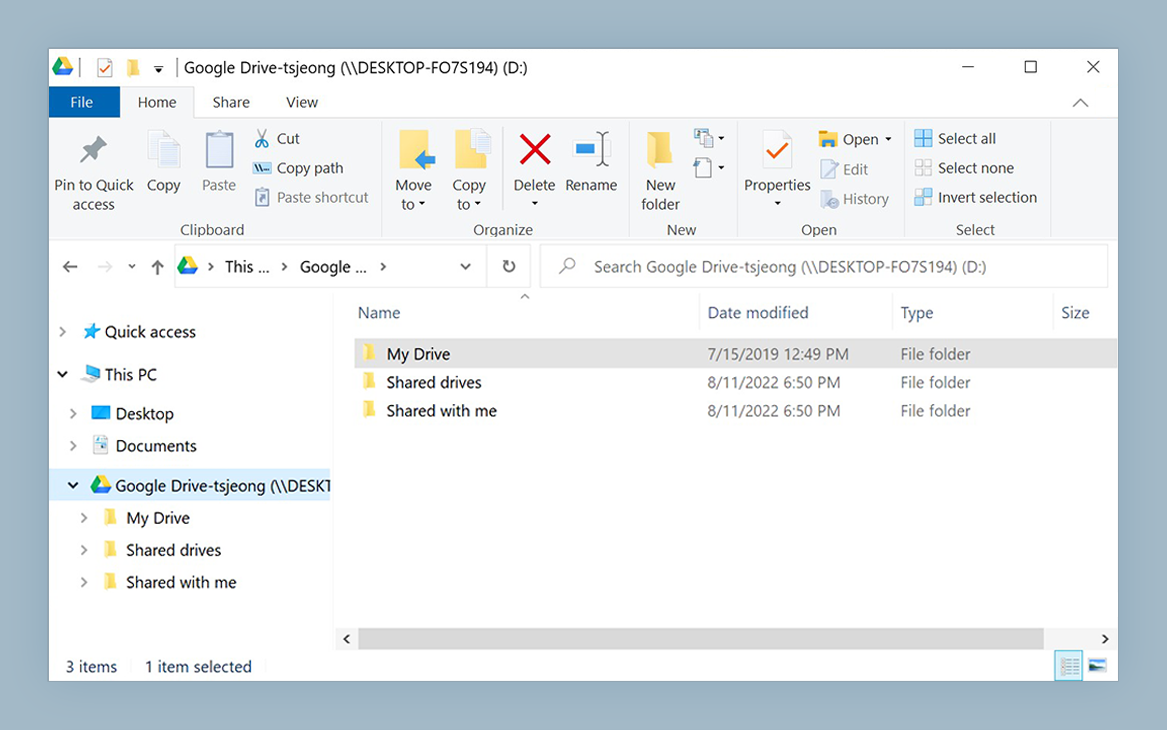
Mount your WebDAV server in macOS Finder
NetDrive lets Google Drive, OneDrive, S3, SFTP, WebDAV and more appear as native drives on Windows and macOS — no syncing, no full downloads.
- Any WebDAV endpoint becomes a native macOS volume
- Works on Apple Silicon and Intel Macs running macOS 14+
- Files open directly in any macOS app — no sync required
Free trial. Lifetime and subscription plans available.
macFUSE: The One Prerequisite
NetDrive on macOS uses macFUSE (the maintained successor to osxfuse) to create the kernel-level file system extension that makes a remote share appear as a native volume in Finder. Before installing NetDrive, download and install macFUSE from osxfuse.github.io. After installation, macOS will prompt you to approve the system extension under System Settings → Privacy & Security → Security — scroll down and click Allow. A restart may be required.
NetDrive 3.18 and later require macOS 14 Sonoma or newer. If your Mac runs macOS 13 Ventura or earlier, use NetDrive 3.17 instead — the download page links to both the current and the legacy build. The installer is notarized by Apple, so Gatekeeper will not flag it.
On Apple Silicon Macs (M1 and later), NetDrive runs natively without Rosetta since version 3.14.309. No extra configuration is needed on M-series hardware.
Setting Up a WebDAV Connection in NetDrive
- Open NetDrive → click the + button in the Drive Manager to add a new drive.
- Select WebDAV from the provider list.
- Server address — enter the full URL of your WebDAV endpoint. Examples:
https://files.example.com/dav/for a server with a valid TLS certificatehttp://192.168.1.100:8080/dav/for a local-network server without TLShttps://nas.example.com:5006/webdav/for a NAS with a non-standard HTTPS port
- Authentication — most servers require a username and password (HTTP Basic Auth). Enter your credentials. If the server allows anonymous read-only access, leave these blank.
- Drive name — give the connection a label you’ll recognize, such as “Lab NAS” or “Office Files”.
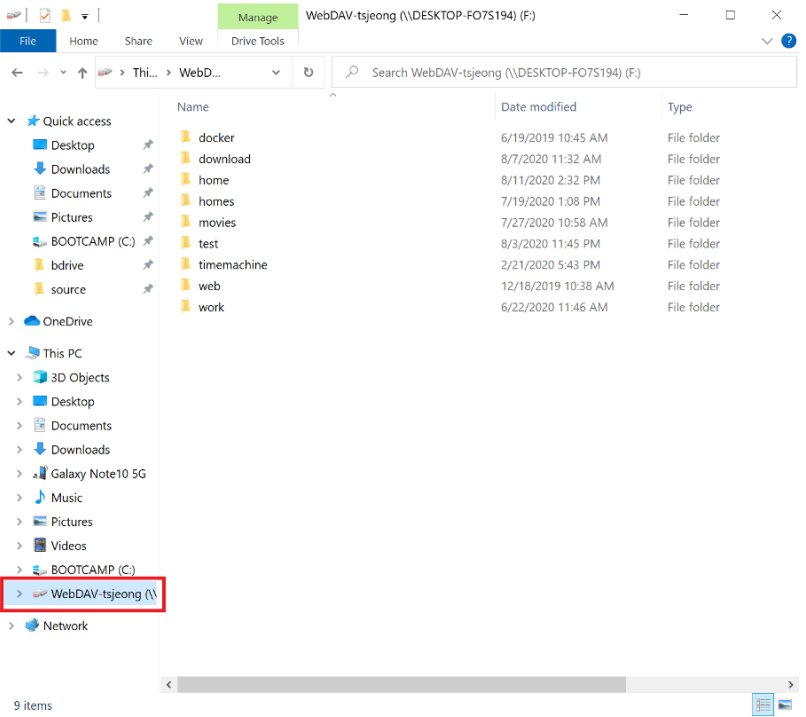
- Click Save, then Mount. The volume appears in macOS Finder under Locations within a few seconds.
HTTP vs HTTPS and Port Numbers
If your server runs on a non-standard port, include it directly in the URL: https://files.example.com:8443/dav/. NetDrive passes the full URL to its HTTP layer without modification, so standard URL syntax applies throughout.
Unencrypted HTTP works for connections that never leave your local subnet, but it transmits credentials in plaintext. For any endpoint reachable over the internet or through a VPN, HTTPS is mandatory. If your server uses a self-signed certificate on a private network, fix the TLS configuration before connecting — NetDrive’s networking layer will reject untrusted certificates to protect your credentials.

Automounting on Login and After Sleep
If you want the WebDAV share available every time you unlock your Mac, open the drive’s settings in NetDrive and set Auto Mount to On Login. NetDrive will mount the share after every restart and after each wake from sleep. Credentials are stored in the macOS Keychain in encrypted form, so you won’t be prompted for a password on reconnect.
macOS aggressively suspends network extensions during deep sleep. If your share disappears after a long sleep, enable Reconnect on Wake in the drive settings. NetDrive listens for the system wake event and re-establishes the mount before macOS reports a stale path to any waiting application — useful for notebooks that close the lid mid-session.
Common Errors and Quick Fixes
401 Unauthorized — credentials are wrong or the server requires a different authentication scheme. Re-enter your username and password; some servers also require URL-encoding special characters in passwords.
Connection refused or timeout — verify that the WebDAV service is enabled on the server and listening on the expected port. On Synology DSM, navigate to Control Panel → File Services → WebDAV/WebDAV HTTPS and confirm the service is active. See the Fix WebDAV Synology Connection with NetDrive post for a detailed Synology-specific checklist.
Drive mounts but files show as unreadable — check that your user account has read permissions on the server-side path. File-level ACLs on the NAS or web server can block listing even when the WebDAV endpoint itself is accessible.
Wrap-up
Once mounted, your WebDAV share behaves like any external volume in macOS: drag files in Finder, open them with any application, run ls /Volumes/YourDrive from Terminal, or reference the path directly in scripts. There is no sync step and no separate client process to manage. For M-series–specific notes on macFUSE behavior and NetDrive’s ARM native build, see NetDrive on Apple Silicon.
— Tayson, NetDrive