Mount Dropbox on macOS — NetDrive Setup Guide

Mount your Dropbox account as a native macOS volume with NetDrive. Access files on demand in Finder without syncing your entire Dropbox to local storage.
Your team stores 600 GB of source assets in Dropbox. The official Dropbox desktop client wants to sync a substantial chunk of that to your MacBook’s internal drive — SSD space you need for other work. NetDrive offers a different model: mount the Dropbox account as a native macOS volume and stream files on demand, so you can open any asset without keeping a local copy of the entire library.
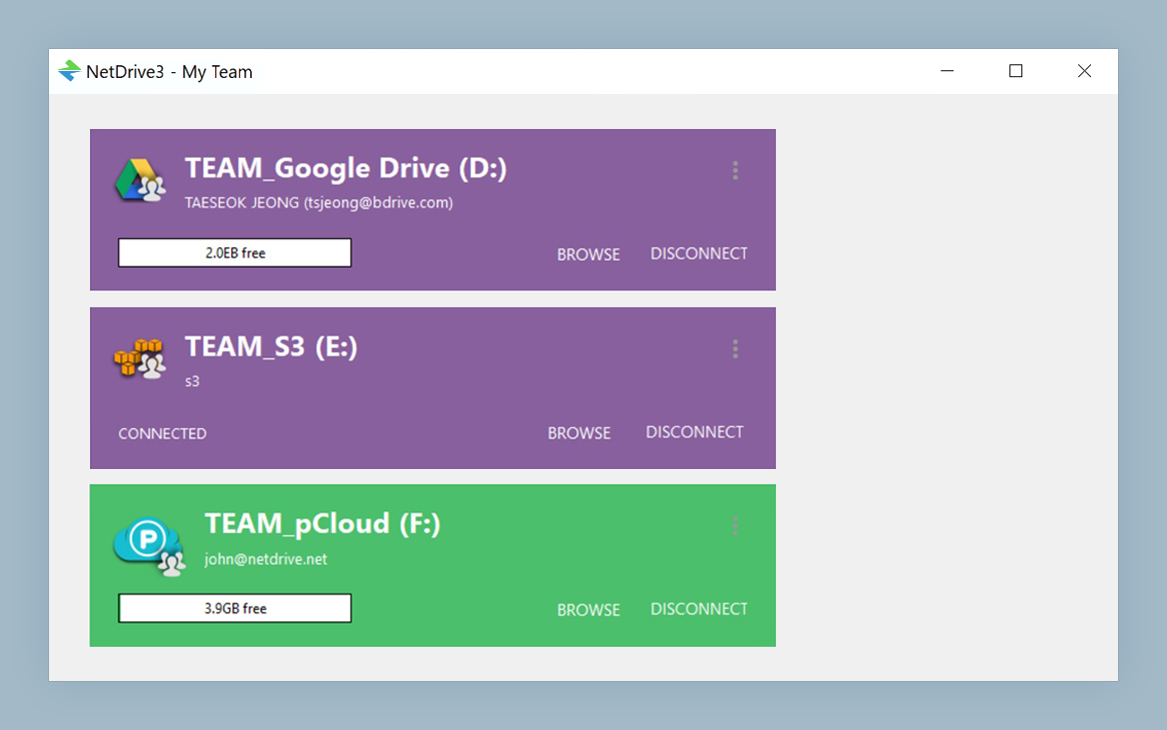
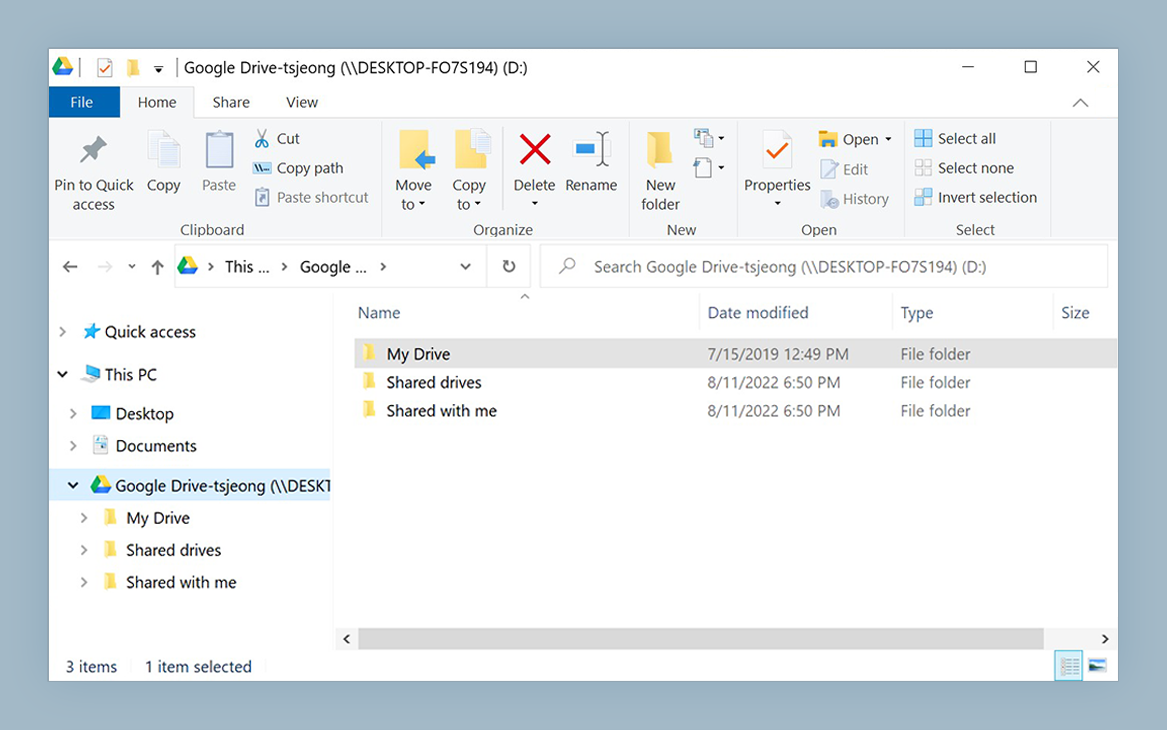
Browse your full Dropbox from Finder — without syncing
NetDrive lets Google Drive, OneDrive, S3, SFTP, WebDAV and more appear as native drives on Windows and macOS — no syncing, no full downloads.
- Mount Dropbox as a native macOS volume in Finder
- Stream files on demand — no local copy required
- Supports Dropbox personal and Dropbox Business accounts
Free trial. Lifetime and subscription plans available.
macOS requirements and macFUSE
NetDrive on macOS uses macFUSE to create the virtual drive that Finder recognizes. When you install NetDrive, macOS will prompt you to allow a system extension from the macFUSE team — this is the kernel-level driver that makes the virtual filesystem work. You’ll approve it in System Settings → Privacy & Security.
NetDrive 3.18 and later requires macOS 14 Sonoma or newer. If you’re still on macOS 13 Ventura or an older release, NetDrive 3.17 is the last compatible version and is available from netdrive.net/download/mac. For Macs running Apple Silicon (M1 or later), NetDrive has run natively since version 3.14.309 — no Rosetta needed.
Install: download the DMG, open it, drag NetDrive to your Applications folder, and launch it. A cloud icon appears in your menu bar — that’s the entry point to Drive Manager.

Connecting Dropbox in Drive Manager
Click the NetDrive menu bar icon and open Drive Manager. To add a Dropbox connection:
- Click Add to open the provider picker.
- Select Dropbox from the list. Dropbox and Dropbox Business accounts both use this option — NetDrive identifies the account type after you authenticate.
- Click Sign In. Your default browser opens the Dropbox authorization page. Log in with your Dropbox credentials and grant NetDrive access.
- After authorizing, switch back to NetDrive. The new connection appears in Drive Manager with your account email as the label.
- Optionally rename the connection — useful if you manage multiple Dropbox accounts, for example a personal account alongside a work Dropbox Business account.
- Under Auto Mount, set the behavior: On Login mounts the drive when you start a session; On Boot mounts it earlier in the startup sequence, before the login screen.
- Click Save, then Mount.
Within seconds the Dropbox volume appears in the Finder sidebar under Locations, the same way a USB drive or network share does.
Working with the Dropbox volume
Once mounted, Dropbox content behaves like any other storage volume on your Mac. Open a Sketch file, run find across a project folder, import footage into Final Cut Pro — the operating system treats it as ordinary I/O.
On-demand streaming is the key difference from the official Dropbox client. Files are fetched from Dropbox only when you open or copy them. A 40 GB archive in your Dropbox occupies zero local disk space until you actually access it. For large shared asset libraries where you routinely need only a fraction of the files, this is a significant practical advantage.
Dropbox Business and team folders show up as subdirectories in the mounted volume. Permissions follow your Dropbox role — you can read and write to team folders that you have access to, and read-only folders appear with the expected macOS file permissions.
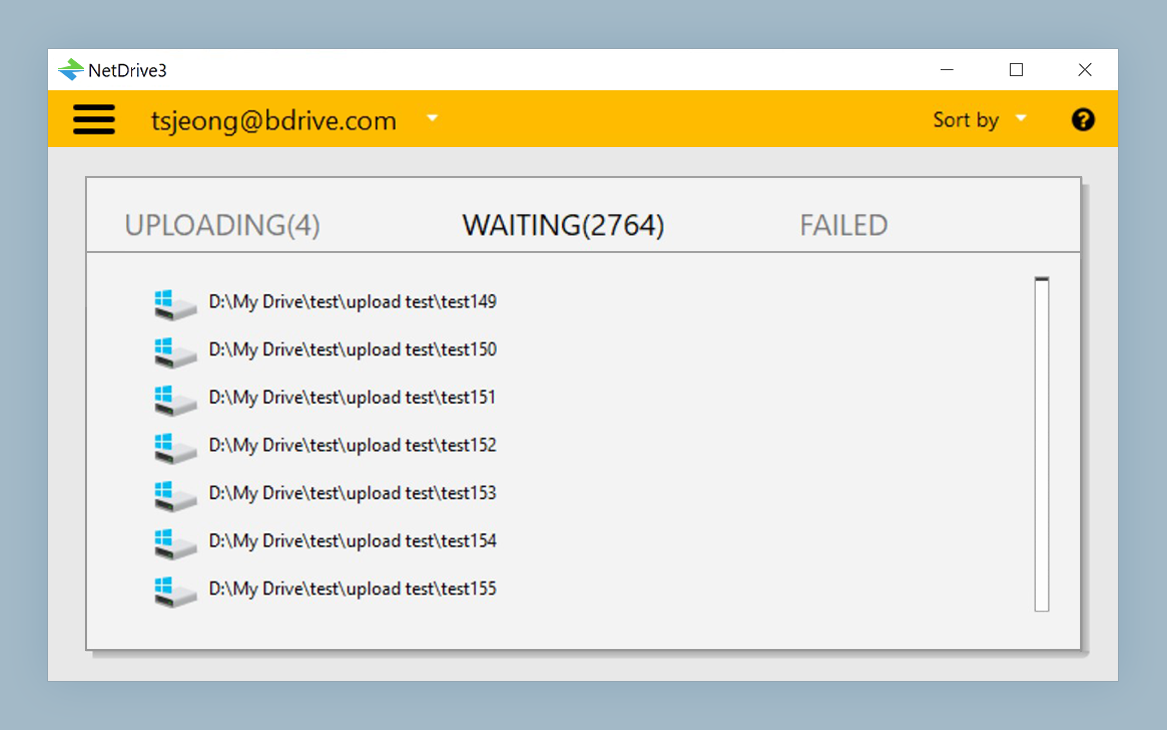
Background uploads keep your workflow uninterrupted. When you save a file to the mounted Dropbox volume, NetDrive begins uploading it immediately in the background. The file is accessible at the local path right away while the upload completes. The NetDrive menu bar icon shows upload progress so you know when a transfer finishes.
macOS Spotlight and the mounted volume
Starting with NetDrive 3.16.667, macOS Spotlight can index mounted drives. For a Dropbox volume with frequently accessed project files, this means you can find documents via Spotlight (Cmd + Space) without navigating into Finder manually.
To keep Spotlight from attempting to index the full remote content of very large Dropbox accounts, you can exclude the volume in System Settings → Siri & Spotlight → Spotlight Privacy.
Multiple Dropbox accounts on the same Mac
If you need both a personal and a work Dropbox Business account accessible simultaneously, add each as a separate connection in Drive Manager. Each gets its own mount point and appears as an independent volume in Finder. You can have both mounted at the same time without conflict.
Wrap-up
NetDrive turns Dropbox into a first-class macOS volume: no local sync, no desktop client process, and full read/write access from any application that opens files. The 7-day free trial lets you test the setup before committing. For other cloud providers on macOS, see Mount OneDrive on macOS with NetDrive and Mount Google Drive on macOS with NetDrive.
— Jay, NetDrive