Mount Azure File Storage on Windows — NetDrive Setup Guide

Learn how to mount Azure File Storage as a Windows drive letter using NetDrive. Access your Azure file shares directly in Windows Explorer without Azure Storage Explorer.
Your team keeps deployment configs and shared project assets on Azure File Storage — but opening them means launching Azure Storage Explorer, waiting through auth, or maintaining a drive-mapping script that breaks every time credentials rotate. There is a cleaner path: mount the Azure file share as a persistent Windows drive letter with NetDrive, and every app on the machine reads and writes to it like a local folder.
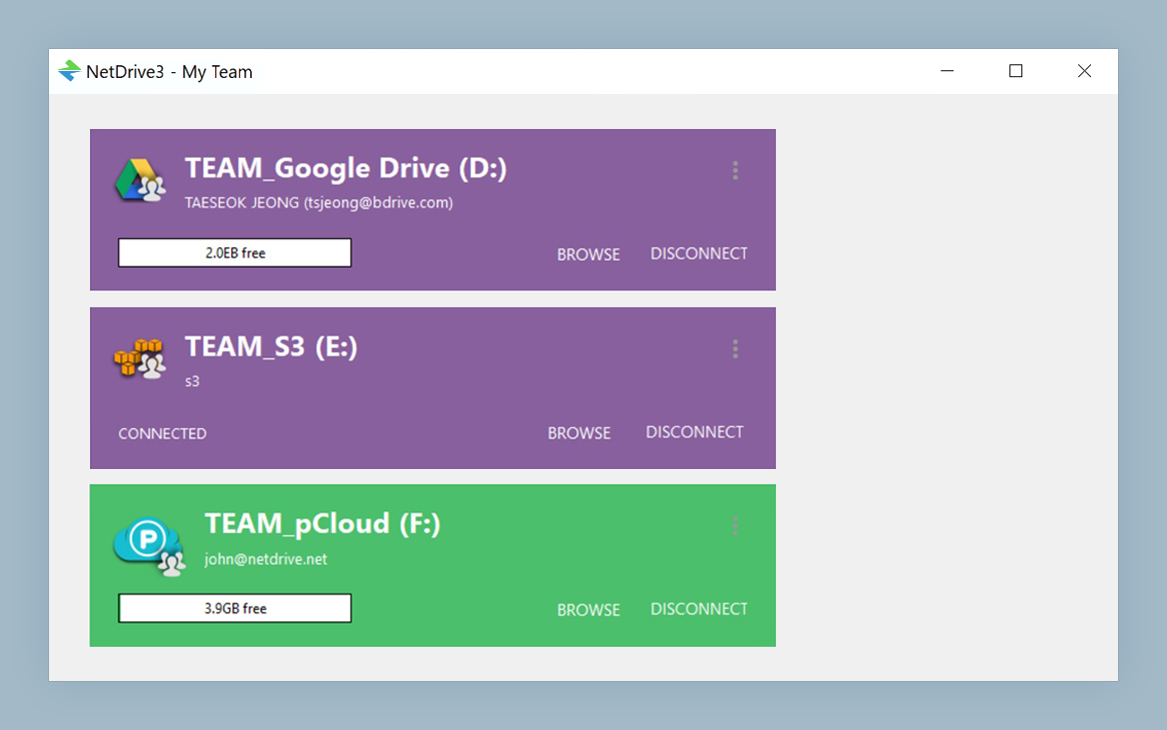
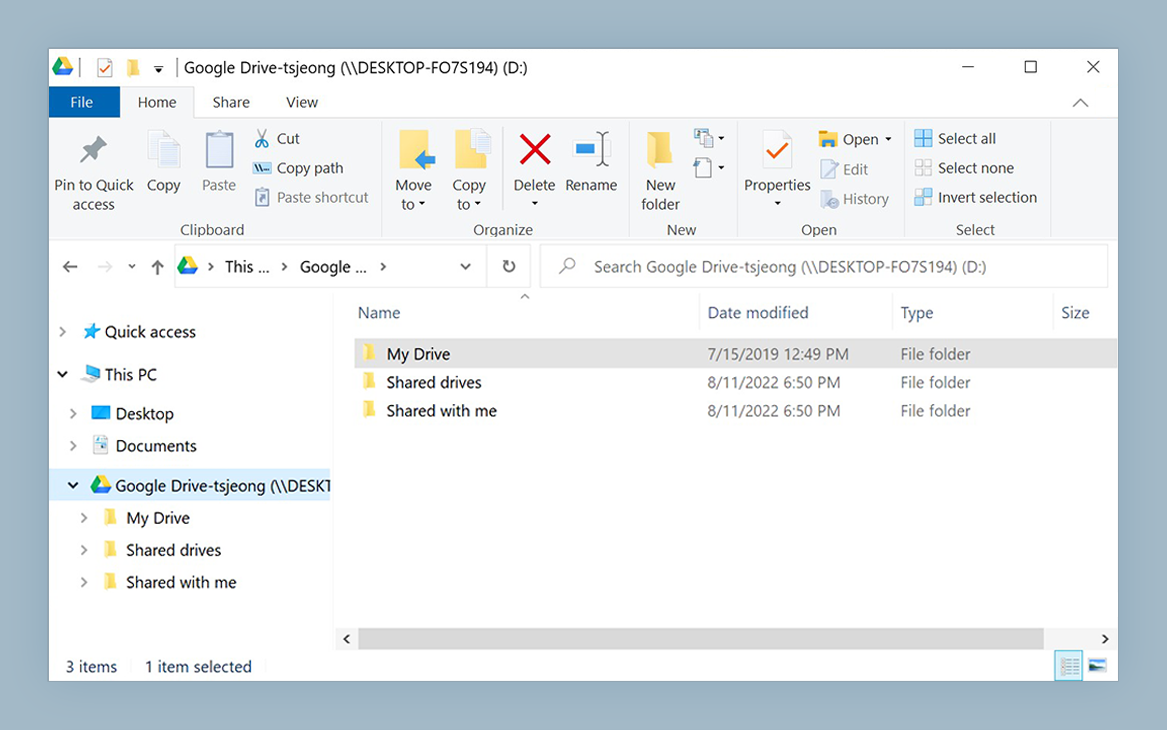
Mount Azure Files as a Windows Drive Letter
NetDrive lets Google Drive, OneDrive, S3, SFTP, WebDAV and more appear as native drives on Windows and macOS — no syncing, no full downloads.
- Persistent drive letter — Z:, F:, or any letter you choose
- Background uploads so file saves return to your app instantly
- Auto-mount at boot — share is ready before you log in
Free trial. Lifetime and subscription plans available.
Azure File Storage vs. Azure Blob — Two Different Connection Types
NetDrive lists Azure File Storage and Azure Blob Storage as separate providers — and they serve different purposes. Blob Storage is object storage optimized for unstructured data like backups, logs, and static assets. File Storage exposes a fully managed SMB file share: the same interface your applications expect from a traditional Windows file server, now hosted in Azure.
This guide covers the Azure File Storage connection type. If your workflow uses Blob containers instead, mount Azure Blob Storage on Windows with NetDrive.
Azure File Storage is especially useful for teams lifting and shifting an on-premises file server to the cloud. Once the share is in Azure, NetDrive lets any Windows machine — a laptop, a developer workstation, a Windows Server RDS host — mount it as a drive letter without SMB firewall exceptions or VPN setup.
Before You Start — Collect Your Azure Credentials
You need three values from the Azure Portal before touching NetDrive:
- Storage account name — visible on the overview page of your storage account.
- Access key — navigate to your storage account → Security + networking → Access keys. Copy either
key1orkey2. - Share name — under Data storage → File shares, note the exact name of the share to mount.
If your organization disables access key usage, generate a SAS (Shared Access Signature) token instead: set it to the File service with at minimum Read, Write, List, Create, and Delete permissions, then use that token in place of the access key in the NetDrive credential fields.
Step-by-Step: Connect and Mount
- Open NetDrive — the Drive Manager window lists all drives you have configured.
- Click the ”+” (Add) button in Drive Manager to open the provider picker.
- Select Azure File Storage from the provider list (in the Microsoft Azure group).
- Enter your Storage Account name and Account Key (or SAS token).
- In the Share field, type the exact name of your Azure file share.
- Choose a Drive letter — for shared team infrastructure, a consistent letter such as
Z:saves everyone from memorizing paths. - Leave Mount type as Network drive (the default) unless a specific application requires the share to appear as a local disk. NetDrive also supports local disk and removable drive mount types if needed.
- Click Connect. NetDrive mounts the share and it appears in Windows Explorer within seconds.
Auto-Mount Without Login
Open the drive’s settings in Drive Manager and set Auto-mount to Boot to reconnect the share before any user session starts. NetDrive installs a Windows service that handles this, so the share is available the moment Windows finishes starting — useful for Windows Server environments or shared workstations where the drive needs to be ready for any user who logs in.
What to Expect When Working With the Mounted Drive
File locking across team members. If two people mount the same Azure File share through NetDrive and one opens a document, NetDrive shows a lock overlay on that file in Windows Explorer for the other user. This file lock feature covers all file types, not just Office files, and was introduced in NetDrive 3.9.1190. It prevents overwrite conflicts without any separate tooling.
Background uploads. Saving a 500 MB file to the mounted drive returns control to your application immediately. NetDrive queues the transfer in the background and completes it asynchronously. Upload progress is visible in the system tray icon.
Team license deployment. A team admin can push the Azure File Storage connection — credentials included — to every team member’s NetDrive installation through the team management console. No manual credential setup per machine.
Wrap-up
Mounting Azure File Storage with NetDrive gives Windows machines a persistent drive letter pointing at a cloud file share, with background uploads, file locking, and boot-time auto-mount included. The setup takes the three Azure credential values and about two minutes in Drive Manager.
For related workflows, see mounting Amazon S3 on Windows if your storage has moved to AWS, or troubleshooting S3 access denied errors in NetDrive for permission debugging patterns that also apply to Azure storage accounts.
— Kai, NetDrive