Mount Azure File Storage on macOS — NetDrive Setup Guide
Step-by-step guide to mounting Azure File Storage as a native macOS drive using NetDrive 3.18+. Access your storage account files directly in Finder.
A design studio managing 300 GB of shared assets across offices in Seoul and Berlin hits the same bottleneck every morning: opening the Azure Portal, locating the latest .psd, and waiting for it to download before any work can start. NetDrive eliminates that drag by mounting the Azure File share as a Finder volume on macOS — the file lives in Azure, but every creative tool opens it exactly as if it’s sitting on a local SSD. Here’s how to set it up in under ten minutes.
Mount Azure File Storage as a macOS Drive
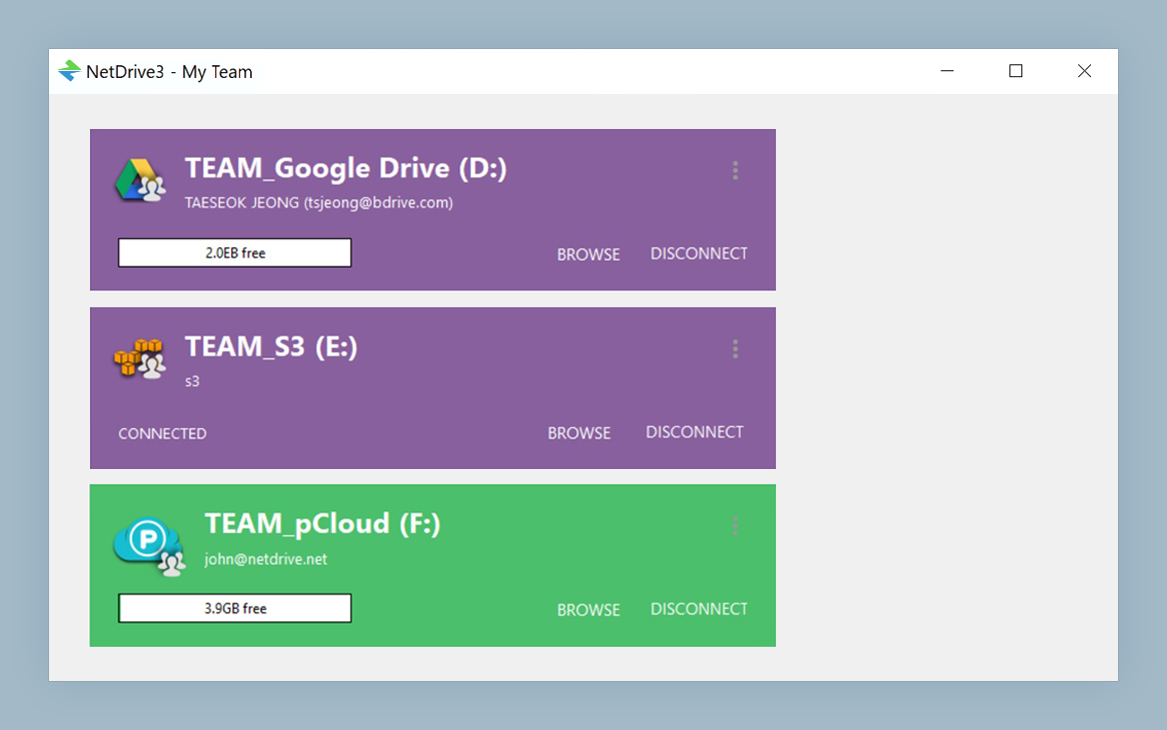
NetDrive lets Google Drive, OneDrive, S3, SFTP, WebDAV and more appear as native drives on Windows and macOS — no syncing, no full downloads.
- Browse and edit cloud files directly in Finder
- Supports Azure File Storage and Azure Blob Storage
- Works on macOS 14 Sonoma and later
Free trial. Lifetime and subscription plans available.
What You Need Before You Start
NetDrive connects to Azure File Storage using your storage account credentials. Collect these three values from the Azure Portal before you open NetDrive:
- Storage account name — the short name of your Azure Storage account (e.g.,
mystudio). - Account key — one of the two 512-bit Base64 keys listed under Security + networking → Access keys in your storage account blade. Either key works; reach for key1 unless you’re mid-rotation.
- File share name — the name of the specific Azure file share (e.g.,
assets). If you omit this, NetDrive shows all shares in the account as sub-folders, which is handy for multi-project accounts.
macOS version note: NetDrive 3.18 and later requires macOS 14 (Sonoma). If your Mac runs macOS 13 Ventura or older, use NetDrive 3.17, which supports those older versions. NetDrive’s macOS installer also checks for required system components and prompts you to install them if not already present — accept that prompt.
Adding Azure File Storage in NetDrive
- Open NetDrive on your Mac. The drive manager shows any drives you’ve already configured.
- Click + (Add Drive) in the toolbar at the top of the window.
- Scroll to Azure File Storage in the provider list and select it.
- In the credential panel, enter your Storage Account Name, Account Key, and optionally your File Share Name.
- Give the drive a label — something like “Studio Assets” or “Marketing Shared” — so it’s easy to identify in Finder.
- Choose a Mount Type. Network Drive works for most use cases. Select Read-only Drive if the share should be protected from accidental writes on this Mac.
- Click Mount.
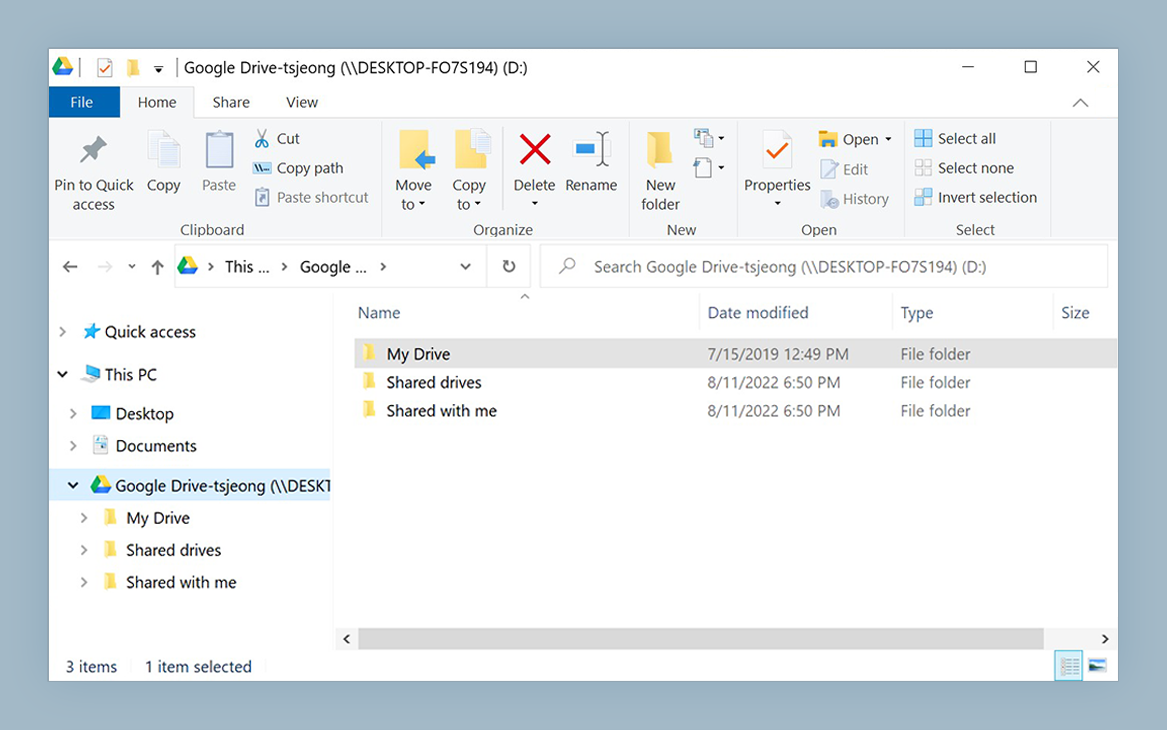
Within a few seconds the drive appears in Finder’s sidebar under Locations, just like an external USB volume. Any app that can open files — Final Cut Pro, Adobe Lightroom, DaVinci Resolve — will see it immediately.
Auto-Mount on Login
Manually re-mounting the drive after every reboot is friction you don’t need. To have the Azure share ready the moment you open your Mac:
- Open the drive’s settings in NetDrive by clicking the pencil icon on its card.
- Set Auto Mount to On Login (or On Boot if the Mac starts unattended — common on a shared render station).
- Save the settings.
NetDrive stores your account key in the macOS Keychain, so credentials are never re-entered after a restart. The drive appears in Finder before your first app window opens.

Cache and Bandwidth Settings
Azure File Storage is billed per transaction and per GB egressed, so avoiding redundant downloads saves real money. NetDrive caches recently accessed files locally — configure the cache size (up to 1 TB) in Preferences → Cache to balance local disk usage against Azure transfer costs. Files already in cache open instantly regardless of network speed.
If you’re on a bandwidth-constrained connection — a hotel network, a site visit on LTE — set a Download Bandwidth limit in the drive’s settings to prevent large file transfers from saturating the link while you’re actively editing. The upload bandwidth limiter is equally useful when pushing a batch of finished exports to the share.
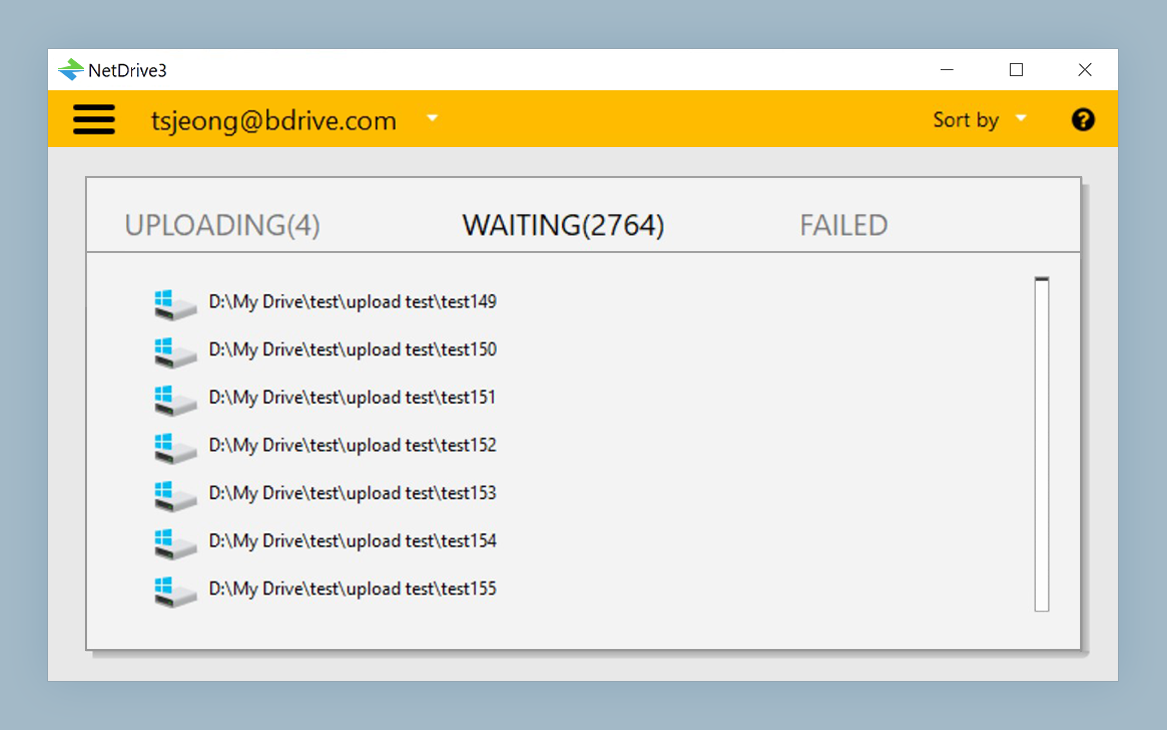
Background uploads let you queue large files and continue working: NetDrive uploads the queue asynchronously while your tools remain responsive. The upload queue and progress are visible from the tray icon.
Wrap-up
Mounting Azure File Storage on macOS with NetDrive takes less than five minutes once you have the account key on hand. The resulting Finder volume behaves like any other drive: drag-and-drop into project folders, Quick Look preview, and Spotlight indexing all work without any extra configuration.
If you also need to lock files so two editors can’t overwrite the same asset simultaneously, see Office File Locking with NetDrive — that feature works across all mounted drives including Azure File Storage. For Azure Blob Storage specifically (rather than File Storage), the setup is nearly identical: swap the provider to Azure Blob Storage and use a container name instead of a share name.
— Tayson, NetDrive