Mount an SFTP Server on Windows — NetDrive Setup Guide

Learn how to mount any SFTP server as a Windows drive letter using NetDrive. Step-by-step guide covering authentication, port settings, and auto-mount on boot.
Your Linux server has 500 GB of project files. Every time you need to edit one, you’re either firing up WinSCP to copy it locally or wrestling with a VPN and a mapped network share that drops every time the connection hiccups. NetDrive takes a different approach: it mounts the SFTP server as a native Windows drive letter — S:, T:, whatever you pick — so you open files directly in your editor as if they were sitting on your SSD.
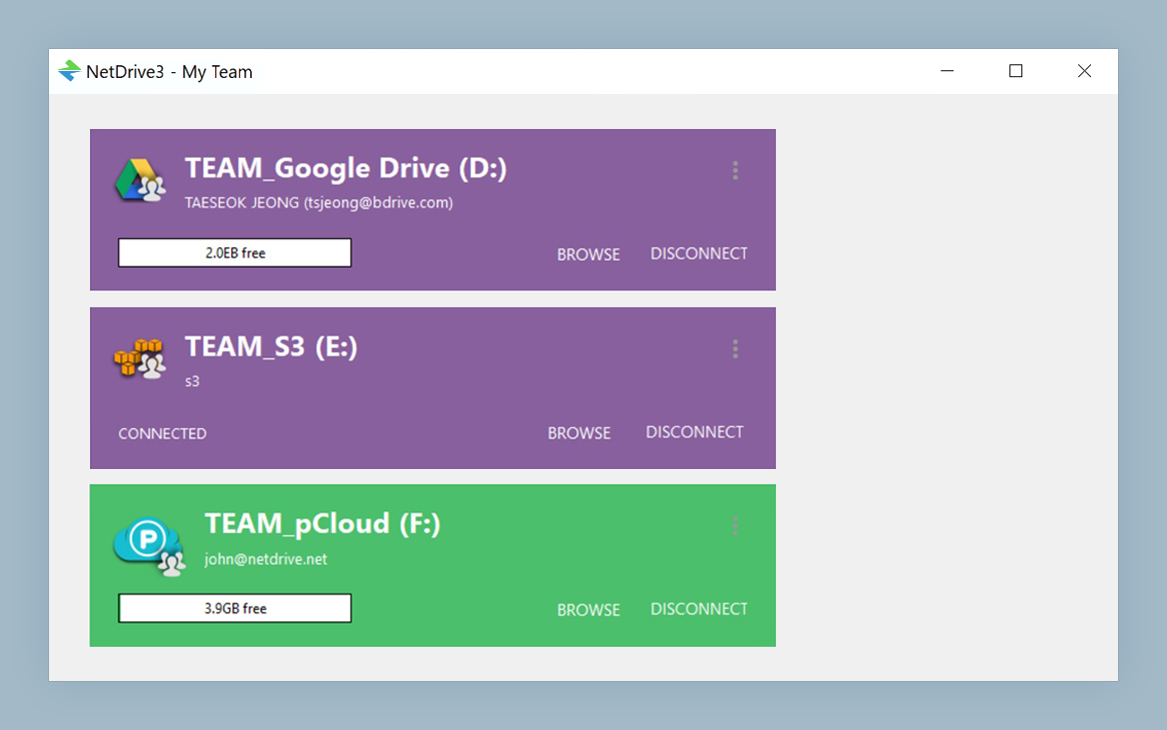
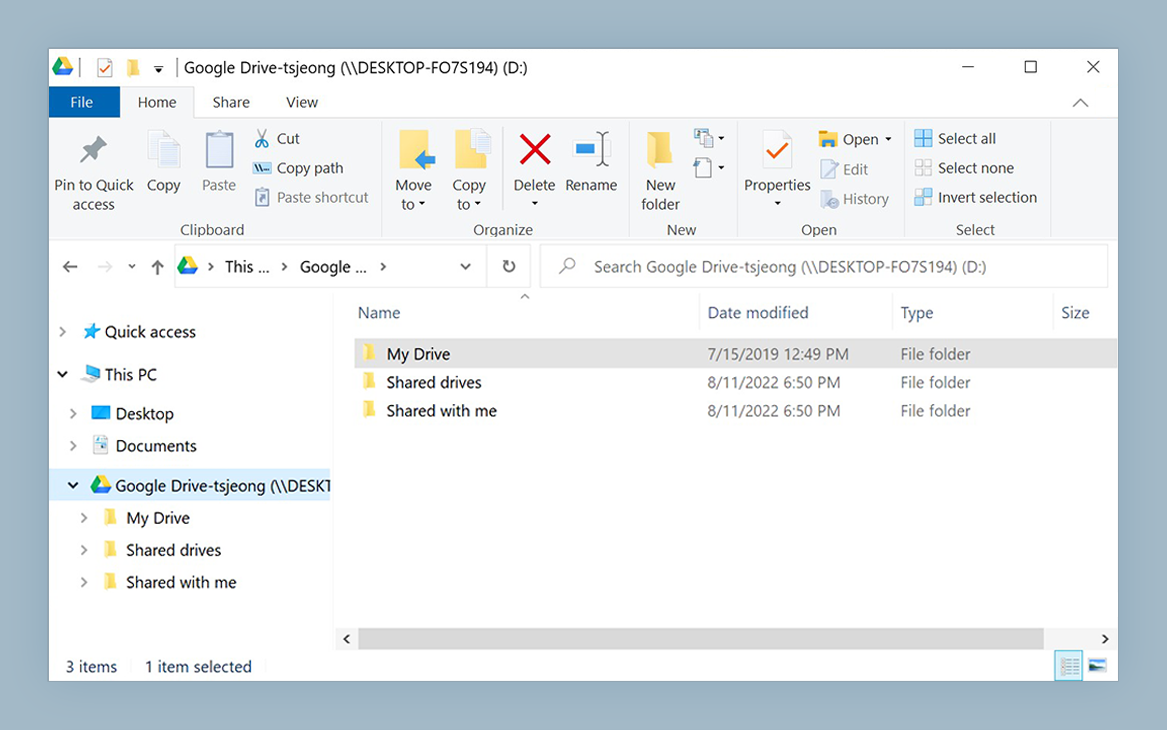
Mount your SFTP server as a Windows drive
NetDrive lets Google Drive, OneDrive, S3, SFTP, WebDAV and more appear as native drives on Windows and macOS — no syncing, no full downloads.
- Assigns any drive letter — work with Explorer, VS Code, or any app
- Password or SSH key authentication, including credential-optional anonymous servers
- Auto-mount at Windows boot without requiring a user login
Free trial. Lifetime and subscription plans available.
Why Mount SFTP Instead of Using a Client
Dedicated SFTP clients like WinSCP or FileZilla are great for bulk transfers, but they don’t integrate with the Windows shell. When your workflow involves opening files in Photoshop, editing config files in VS Code, or running scripts that read from a remote path, you need the server to appear as a local drive.
NetDrive uses CBFS (Callback Technologies filesystem driver) to present the SFTP connection as a block-level drive. From Windows Explorer’s perspective, S:\projects\api\ is indistinguishable from a local directory — you can drag files into it, right-click and open with, or reference it in a robocopy command.
Symlink support was added in NetDrive 3.17.817, so if your server uses symlinks (common in Linux home directories and /var/www setups), they resolve correctly on the Windows side without any configuration.
What You Need Before Starting
- NetDrive 3 installed on Windows 8, 8.1, 10, or 11. Download the EXE installer from netdrive.net/download/windows/.
- SFTP server hostname or IP address — your server’s public IP or internal LAN address.
- Port number — SFTP defaults to port 22. Some hardened servers run on a non-standard port like 2222 or 22022.
- Credentials — username + password, or a private key file (PuTTY
.ppkformat or OpenSSH format).
If the server allows anonymous SFTP (no credentials), NetDrive has supported credential-optional connections since version 3.7.687 — leave the username and password fields empty.

Step-by-Step: Connect an SFTP Server on Windows
-
Open NetDrive — look for the NetDrive icon in the system tray (bottom-right taskbar area). Click it to open the Drive Manager.
-
Click “Add a Drive” — the large
+button in the Drive Manager window. -
Select SFTP from the list of connection types.
-
Enter the server address — hostname (e.g.,
files.example.com) or IP address (e.g.,192.168.1.50). Set the port to22unless your admin told you otherwise. -
Configure authentication:
- Password: enter your username and password directly.
- SSH key: click the key icon, select your private key file. NetDrive accepts both OpenSSH format (
id_rsa) and PuTTY.ppkfiles.
-
Assign a drive letter — pick any unused letter from the dropdown.
S:for “server” is a common choice, but any letter works. -
Set auto-mount behavior — in the Mount dropdown, choose:
- On boot — mounts before Windows login screen (useful for background services).
- On login — mounts when your user session starts (most common for desktop use).
- Manual — you click Connect each time.
-
Click “Connect” — NetDrive authenticates and mounts the drive. It appears immediately in Windows Explorer.
Verifying Connectivity Before You Configure
If the connection fails, the two most common culprits are a wrong IP and a blocked port. You can verify both from PowerShell before even opening NetDrive:
# Ping to check basic reachability
ping files.example.com

# Check if port 22 is open (replace 22 with your actual port)
Test-NetConnection -ComputerName files.example.com -Port 22
A TcpTestSucceeded: True result from Test-NetConnection means the port is reachable and the problem, if any, is in credentials or server-side permissions.
If TcpTestSucceeded: False, the firewall on the server or your local network is blocking port 22. Ask your server admin to open the port, or confirm you’re on the correct VPN if the server is behind one.
Wrap-up
Once connected, your SFTP server behaves like any other Windows drive. You can copy files to it, open and save documents directly, and reference its path in scripts — S:\deploy\config.yaml works just as well as any local path. NetDrive keeps the connection alive in the background and reconnects automatically after network interruptions.
For similar setup guides, see Mount Amazon S3 on Windows with NetDrive or Fix SFTP Authentication Errors in NetDrive if you run into credential issues.
— Jay, NetDrive