Mount Yandex Disk on macOS — NetDrive

Mount Yandex Disk as a native drive on macOS using NetDrive. Access your storage from Finder without syncing files locally — step-by-step setup guide.
You have 60 GB of project files sitting in Yandex Disk and you need to open them in Final Cut Pro or Sketch right now — not after a full local sync finishes. NetDrive mounts Yandex Disk directly in macOS Finder as a drive, so you can stream files on demand without ever filling your SSD.
Mount Yandex Disk in Finder — no sync required
NetDrive lets Google Drive, OneDrive, S3, SFTP, WebDAV and more appear as native drives on Windows and macOS — no syncing, no full downloads.
- Yandex Disk appears as a native drive in macOS Finder
- Files stream on demand — no local copy needed
- Auto-mount on login or system boot
Free trial. Lifetime and subscription plans available.
What You Need Before Starting
NetDrive has supported Yandex Disk since version 3.9.1190 (April 2020). The current release is 3.19.7, which requires macOS 14 Sonoma or newer. If you’re on macOS 13 Ventura, you’ll need to stay on NetDrive 3.17 — Yandex Disk is fully supported on that branch too.
Checklist before you install:
- macOS 14 Sonoma or later
- NetDrive 3.18 or newer — download the DMG from netdrive.net/download/mac/
- An active Yandex account with Yandex Disk storage enabled
NetDrive ships as a signed and notarized DMG. The installer also sets up the required system extension. After installation, macOS will ask you to approve it in System Settings → Privacy & Security — that approval is required for any cloud drive to appear in Finder.
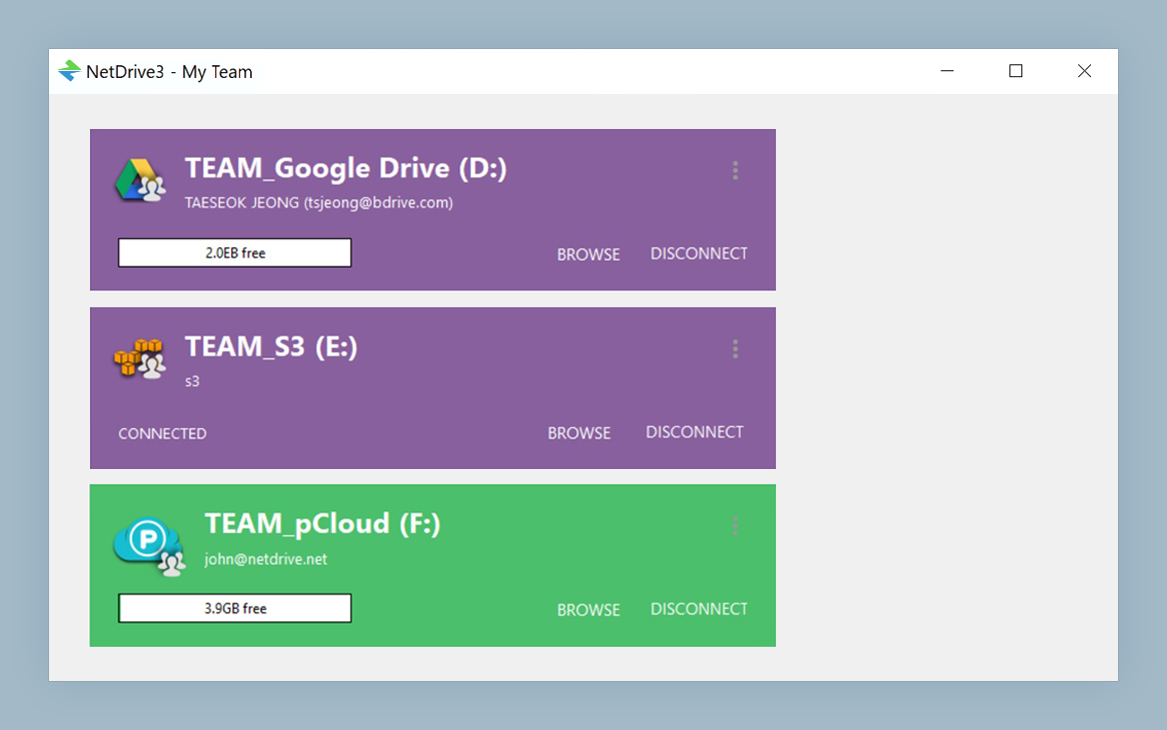
Adding Yandex Disk in the Drive Manager
Once NetDrive is running, a menu bar icon gives you quick access to the Drive Manager — the central panel where all connected drives live. To add Yandex Disk:
- Click the NetDrive icon in the menu bar and choose Open Drive Manager.
- Click the + button at the bottom of the drive list.
- In the provider picker, select Yandex Disk.
- NetDrive opens a browser window to Yandex’s OAuth consent screen. Sign in with your Yandex account and click Allow to grant NetDrive access to your storage.
- Once authorized, the browser closes and the new drive entry appears in the Drive Manager, pre-labeled with your Yandex account name.
You can rename the drive label to anything — handy if you connect two separate Yandex accounts, for example a personal one and a shared team folder.
Configuring Mount Options
Before clicking Connect for the first time, check these three settings in the drive’s configuration panel:
Drive type — NetDrive offers network drive, local disk, and removable drive mount types. For Yandex Disk accessed over the internet, network drive is the standard choice. Local disk type can be useful if an application specifically requires a local volume (some video editors behave differently toward network paths).
Mount path — By default, Yandex Disk mounts at /Volumes/Yandex Disk. You can customize this path if you have scripts or application presets that expect a fixed location.
Auto-mount — Set this to Login so the drive reconnects automatically whenever you log into your Mac. If you run a shared workstation and need the drive accessible before a user session begins — for example, a rendering node or a build machine — the Boot option handles that case.
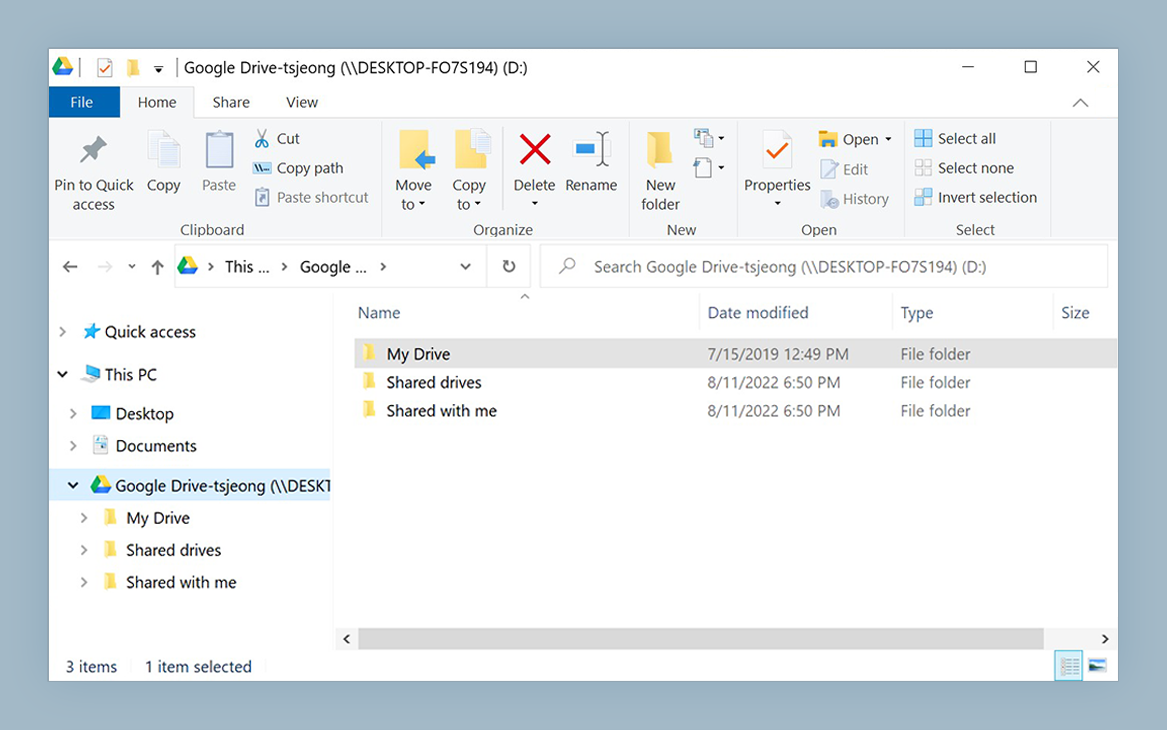
Click Connect. Within a few seconds, Yandex Disk appears in the Finder sidebar and on the desktop, just like any other drive.
Tips for Day-to-Day Use
Refreshing stale directories — If you uploaded files from another device and they don’t appear in Finder immediately, right-click the folder and choose Refresh from the NetDrive submenu. This forces a fresh listing from Yandex servers without remounting the entire drive.
Background uploads — When you copy large files into the mounted drive, NetDrive queues them for background upload and returns control immediately. You can track progress from the menu bar icon. Files appear in the directory listing right away; the actual upload completes asynchronously in the background.
Read-only mounting — If you need colleagues to have access without write permissions, mount the drive in read-only mode from the drive settings. This is enforced at the NetDrive layer regardless of Yandex’s own sharing permissions, which makes it useful for shared machines where you don’t want anyone accidentally deleting originals.

Wrap-up
Mounting Yandex Disk through NetDrive on macOS is a five-minute setup: install, authorize via OAuth, pick your mount options, and the storage shows up as a native Finder volume. For creative teams who keep shared assets on Yandex Disk, this approach avoids the full-sync overhead of the native Yandex client while keeping files accessible from any Mac app.
If you work with other clouds alongside Yandex Disk, the same setup flow applies — see our guides on mounting Google Drive on macOS and mounting Dropbox on macOS.
— Steve, NetDrive